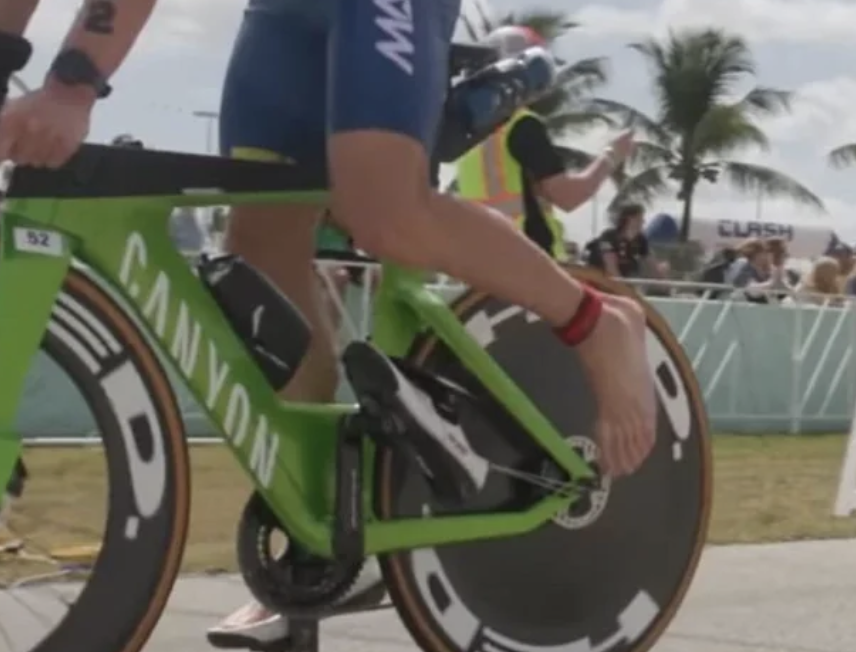
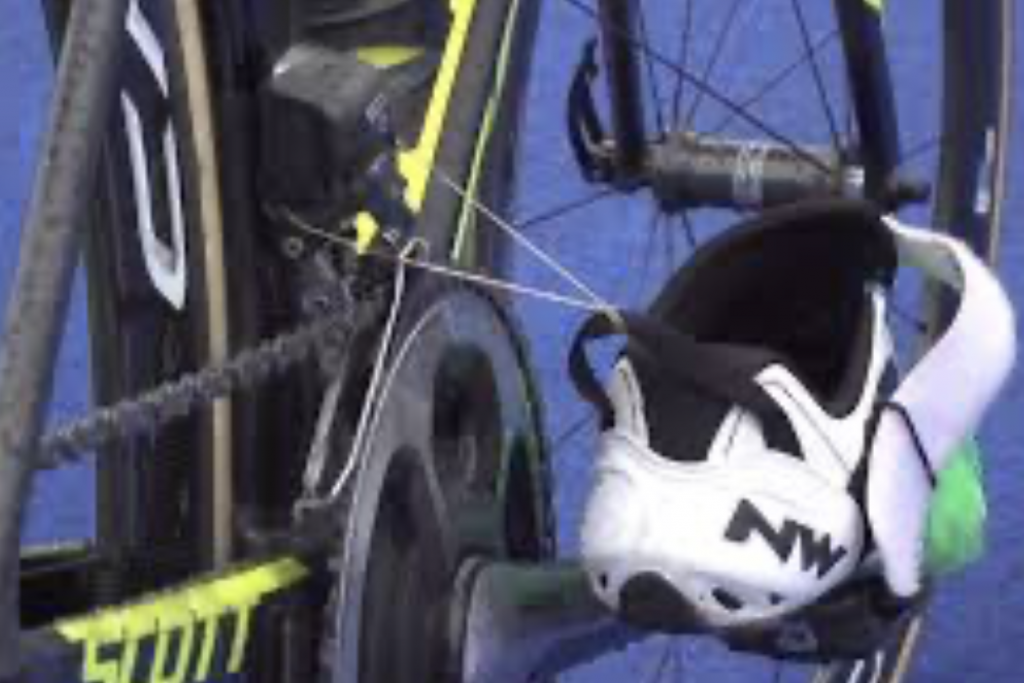
Using elastics to keep your bike shoes attached to your pedals during T1 is standard practice in triathlon racing. It saves you from running in cleats, which is slippery and slow. The catch: setting up elastics at 4 AM on race morning is fiddly and cumbersome. They snap, they break, and the whole process is finicky right when you want stress-free prep. It’s an unnecessary stressor.
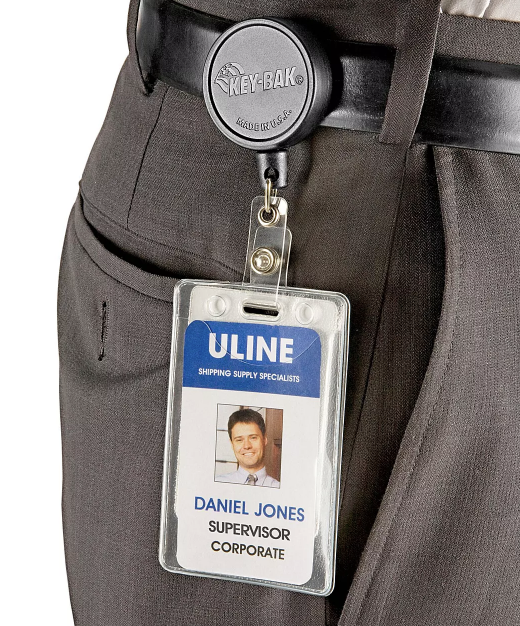
My idea: replace the elastics with a magnetically retractable cord. Think retractable key or badge reel, paired with magnets. Setup becomes nearly instant, and you can practice T1 transitions repeatably without rebuilding the rig every time.
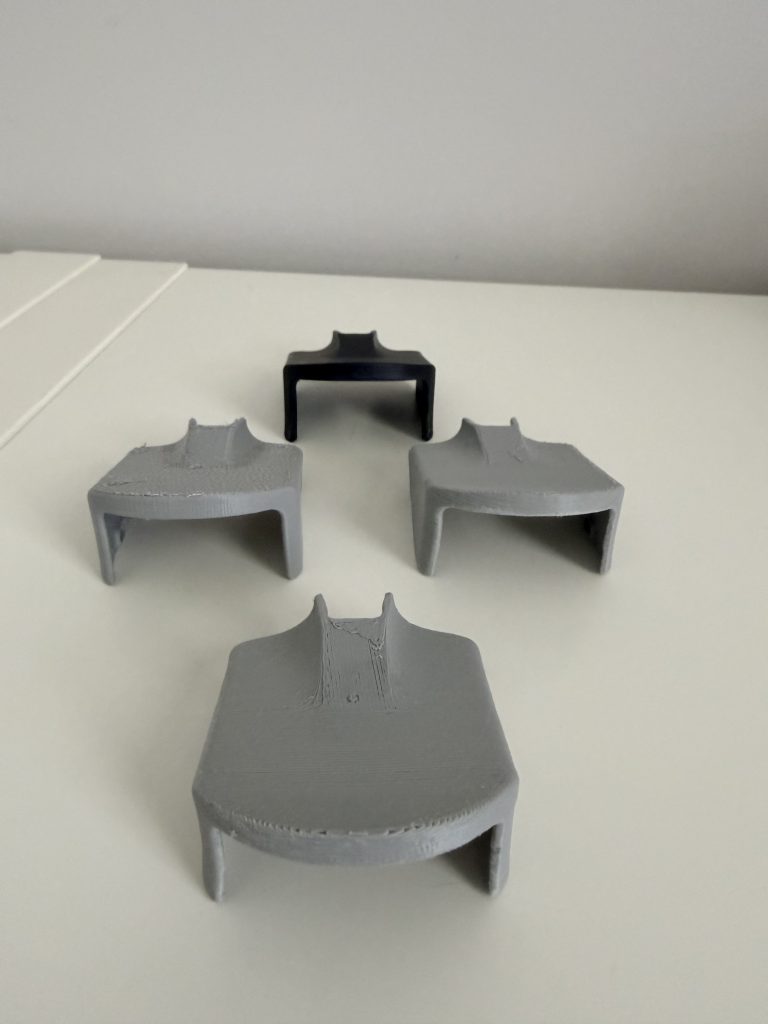
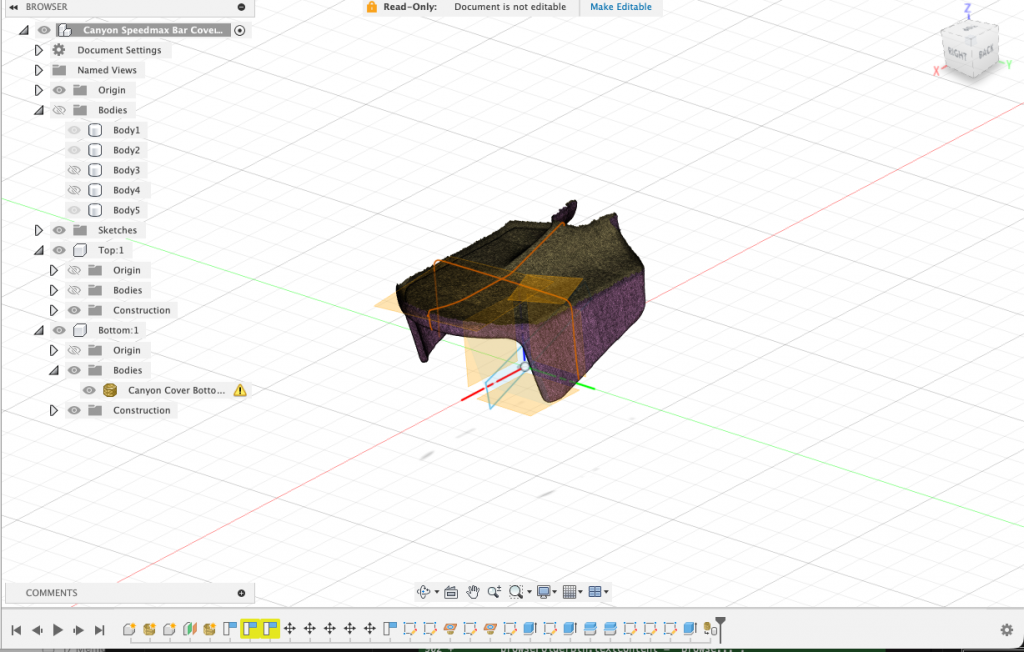
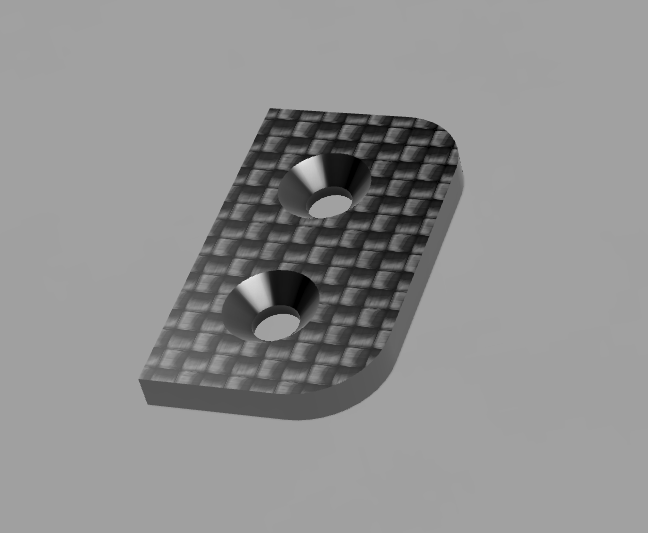
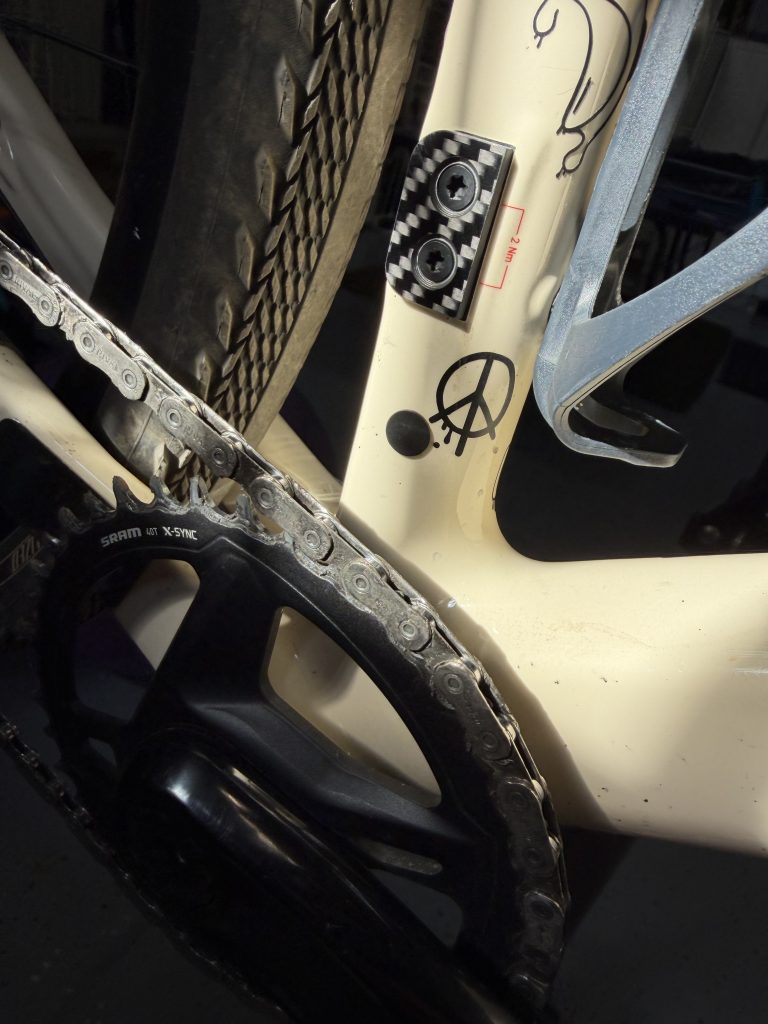
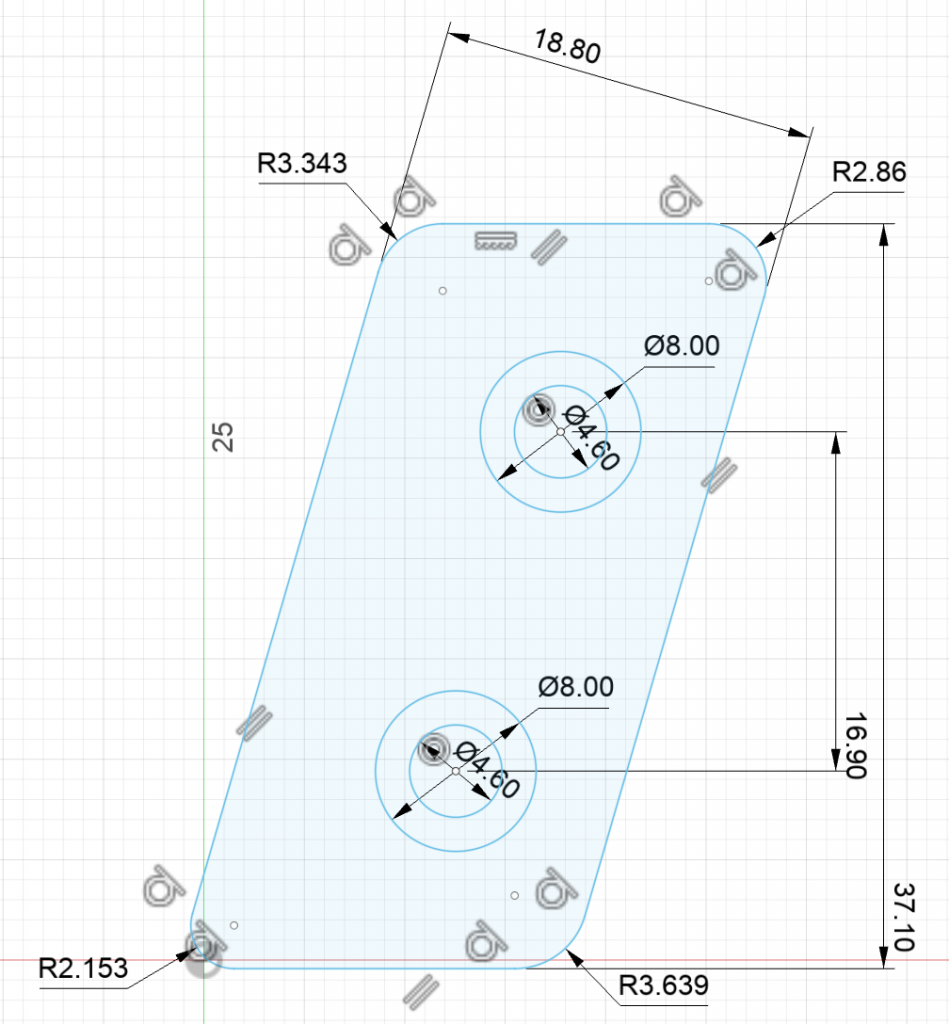
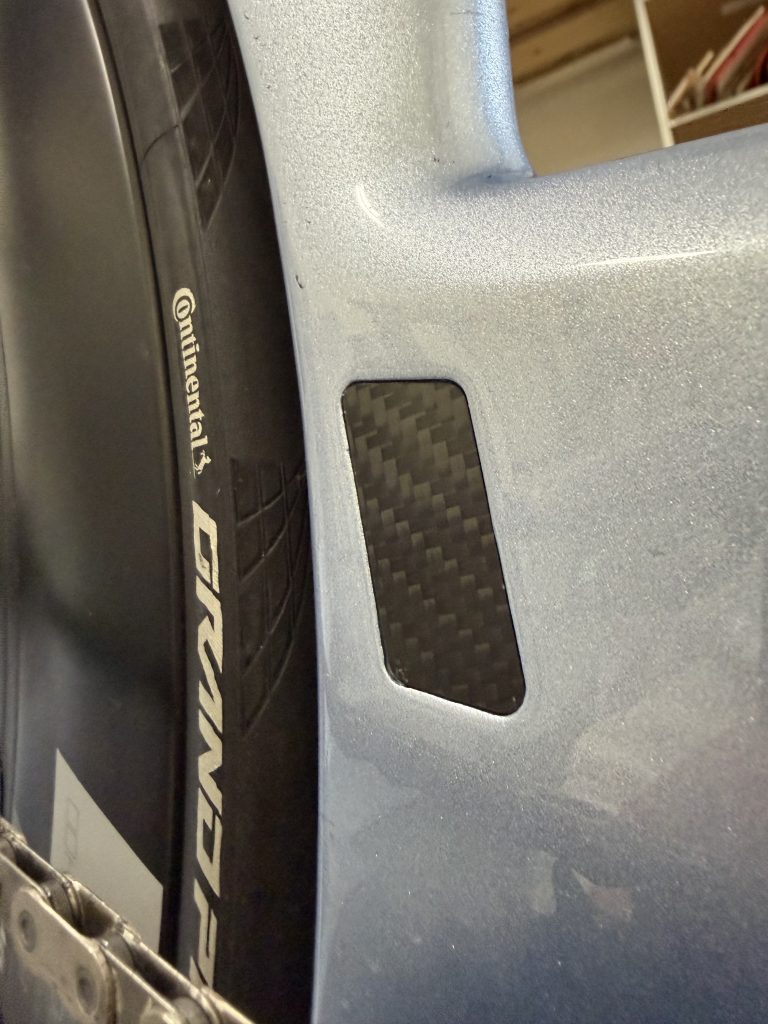
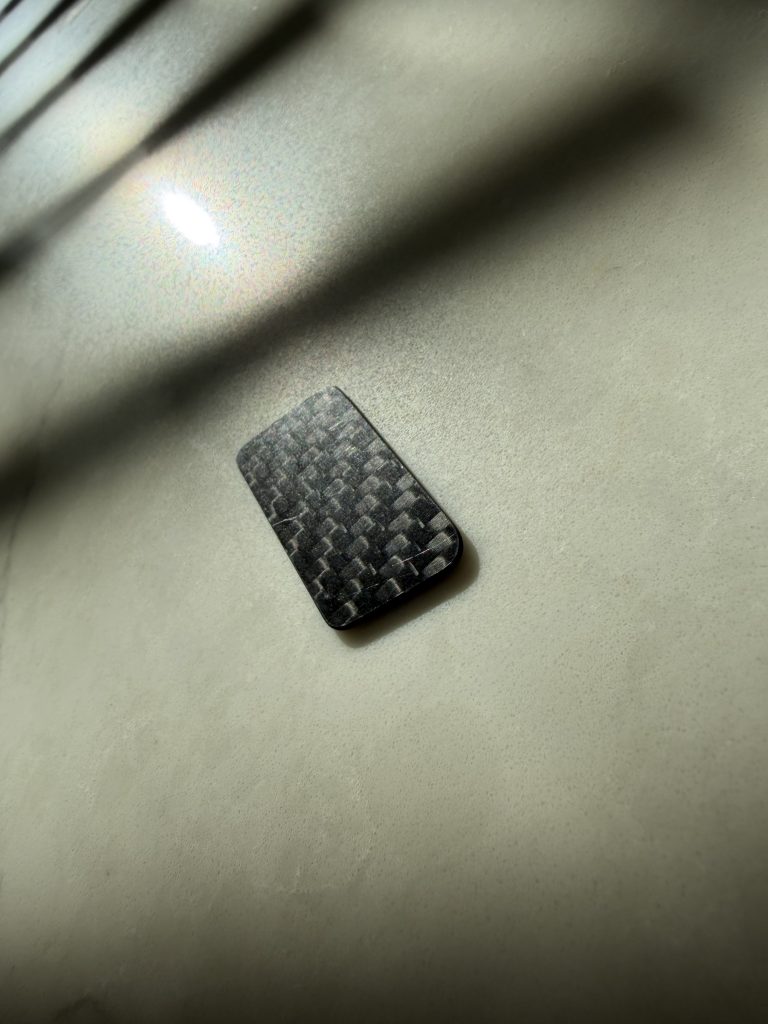
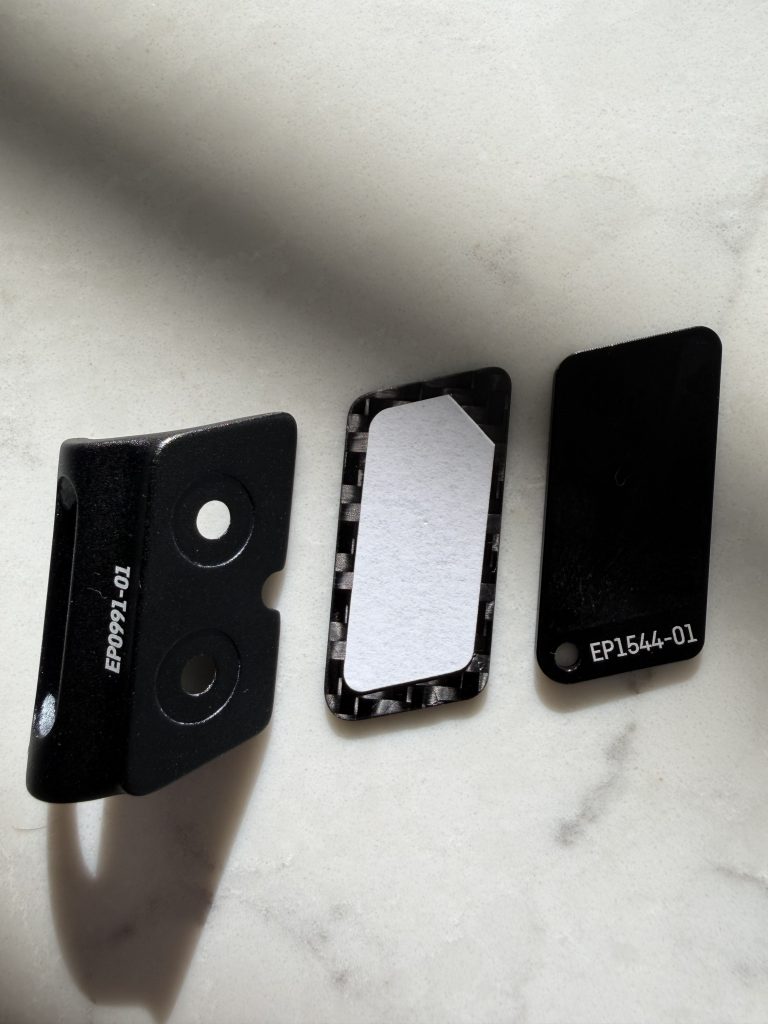
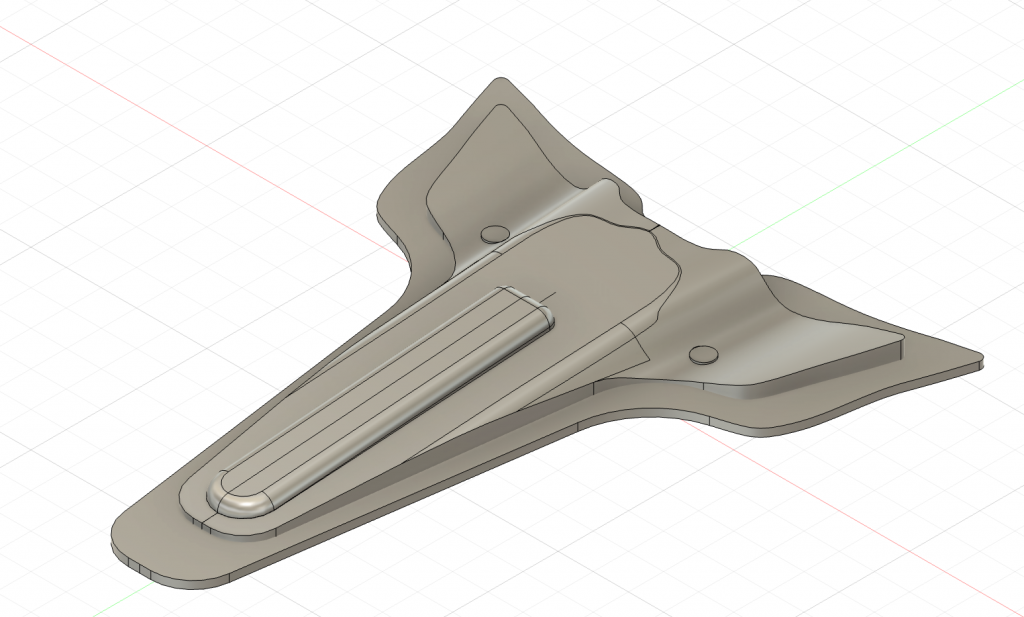
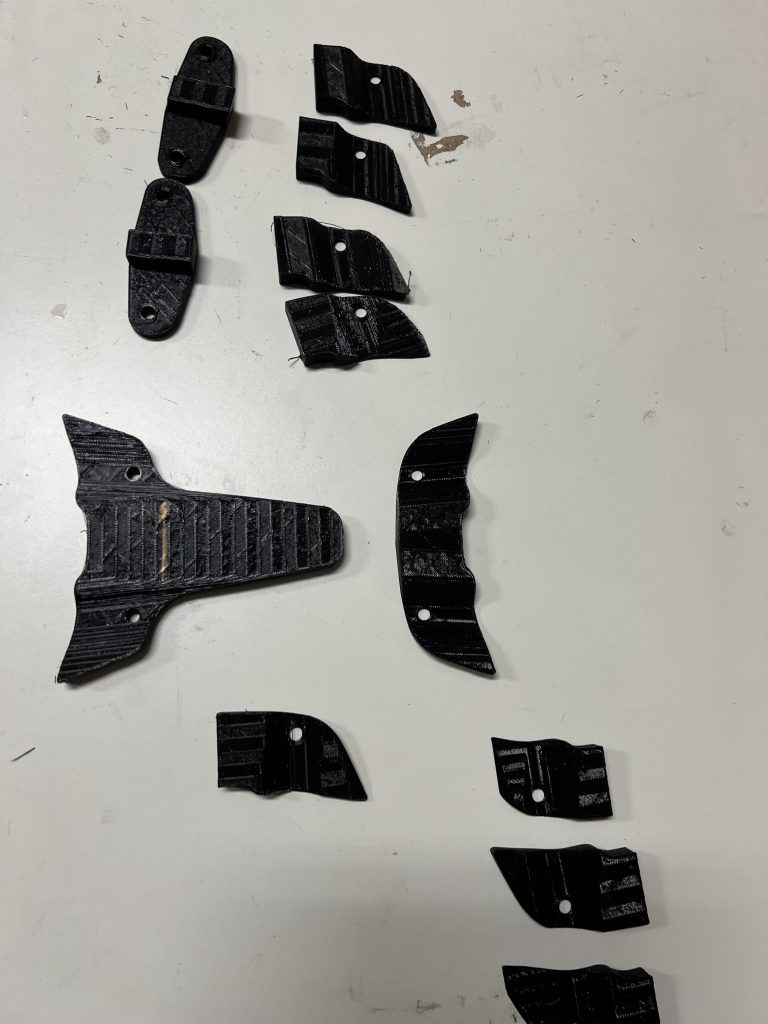
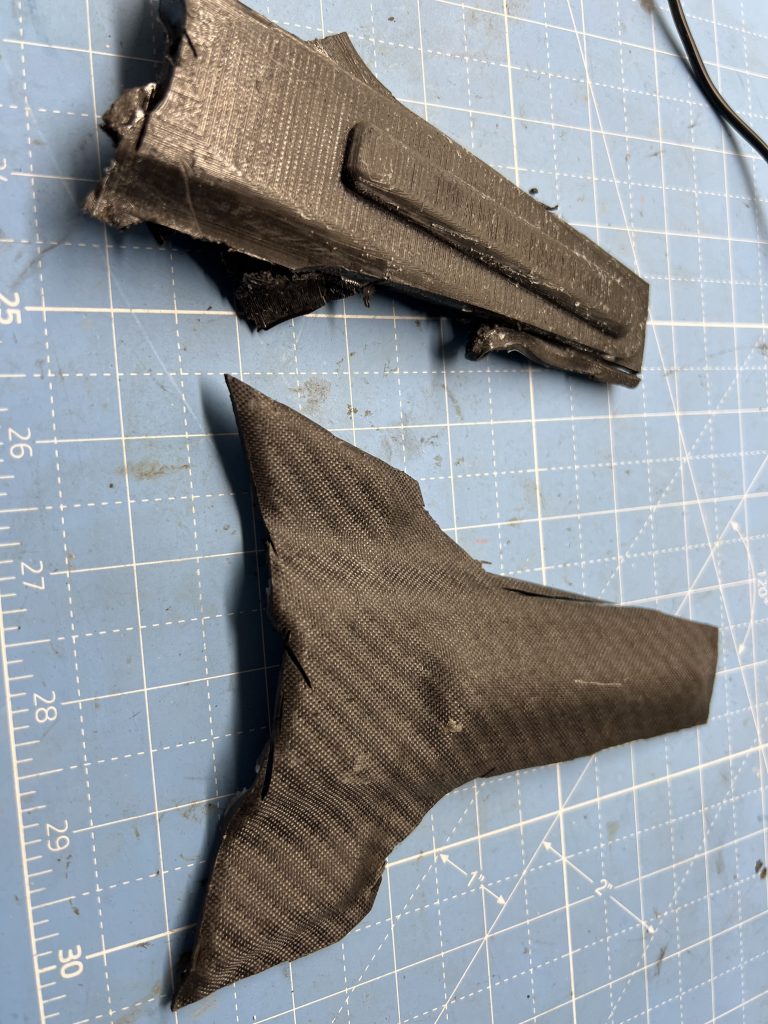
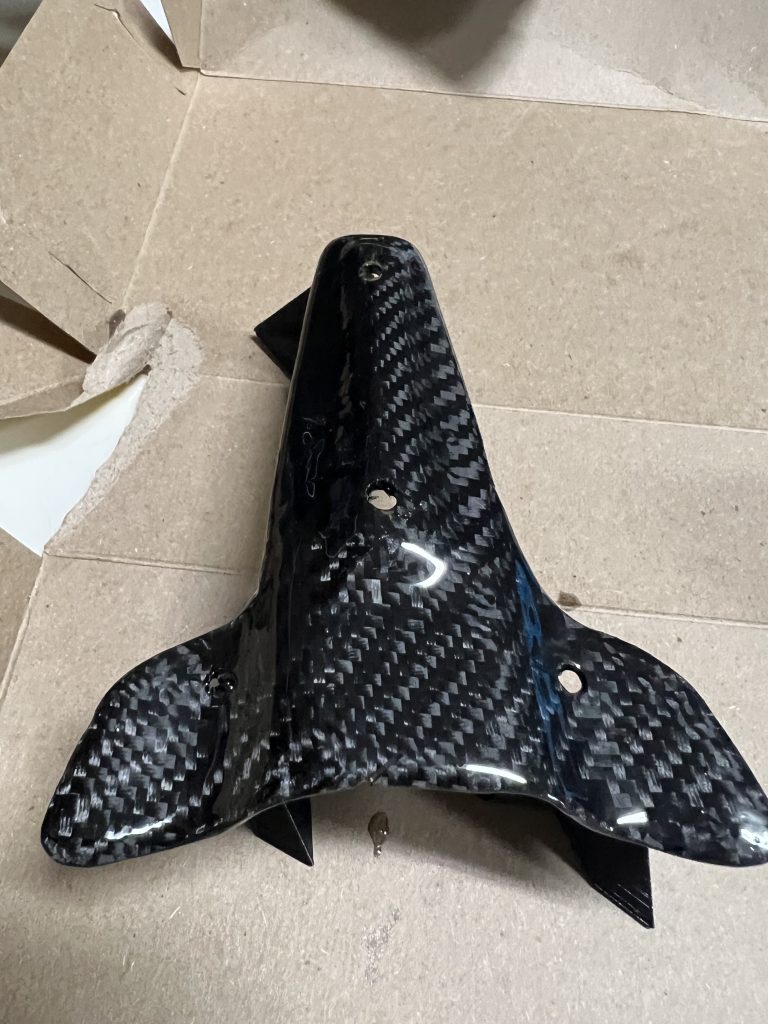
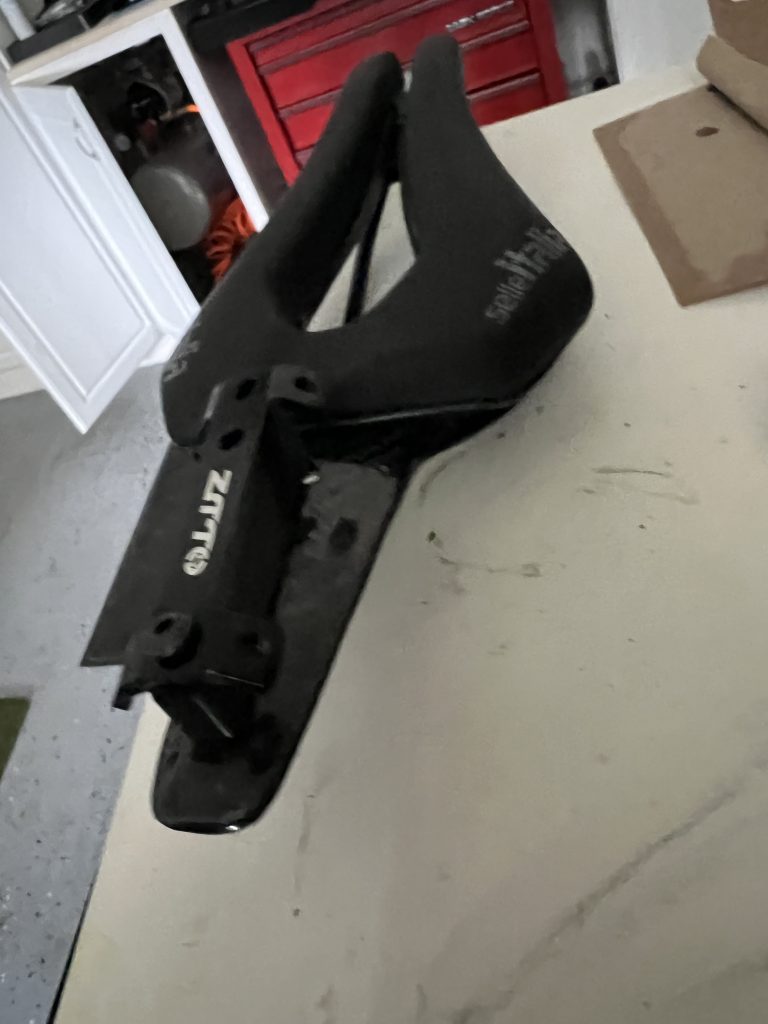
After a few iterations, here’s the design I landed on. A small plastic enclosure mounts to the rear chainstay on either side of the bike. Inside is a retractable string with a magnet on the end, and your bike shoes carry a matching magnet on the heel. A torsion spring (with variable tension and string length depending on setup) holds the shoe in position parallel to the ground. As soon as you start pedaling, the magnet releases, and the string retracts back into the case.


You must be logged in to post a comment.