I don’t use Cameo cutter much at all, so I was pretty disappointed to see it not working correctly when I wanted to cut some vinyl stickers for my bike project. The carriage would just slowly move to the right and stop. Turn it off and back on, and it would do the same until it hit the right side and make a terrible knocking noise as the position sensor did know where the carriage was.
Disassembling the unit and doing some online searching it seems the left stop sensor was bad. It is a Normally Open IR switch and after doing some extensive searching was able to find a replacement online. I mocked up the circuit board and cut a prototype on the Glowforge, did some very small soldering to wire it up, and it 100% fixed the problem.read more
I have always enjoyed the concept of being immersed into a virtual world. One of my first experiences with VR was in roughly 1993 when our local arcade introduced a game from one of the OG gaming founders John Waldron called Dactyl Nightmare on a 1000CS. After that experience, I have always wanted to build a motion sim which gets you as close to reality as possible.
Last year I took the first steps and decided to put the initial blocks in place and start with sim platform that I could eventually add motion to. I purchased a Fanatic wheel base and thought it would be a great learning experience to build the steering wheel from scratch. Many of the components can be built versus bought which is what is keeping me motivated to eventually get the entire system together.read more
Designing, building and then using something you have made, has been one of the most rewarding and personally satisfying activities I have found in my life so far. I was born a tinkerer, always disassembling, trying to understand and improve or recreate.
My favorite TV show is “How it’s made”.
I have way too many expensive tools, printers, cutters and machines, and not a single one has made a significant return on the investment … but, what I have learned using them has been 10x …
Its not just the tool, its the tools to use the tool, the software to design the product, the process to start, run or finish the machine or product, the prep work, consideration and the functionality.read more
This weekends challenge, a better hook for a bicycle:
Want to laser cut one of your own or remix it? Check it out on Thingiverse
This is a vertical based bike hook for bicycles with aero (deep) front rims. Currently there are not many wheel hooks that keep the front wheel vertical and that don’t scratch the rim when putting the bike up.
The hook is lasercut using a glowforge and medium draft board (the material thickness is important as all the slots need to interlock). Assembly is slotting the parts together and installation requires two screws/anchors into the wall.
It was specifically designed for a Reynolds AR80, however, I believe other wheels with similar dimensions, depths or profiles should fit.read more
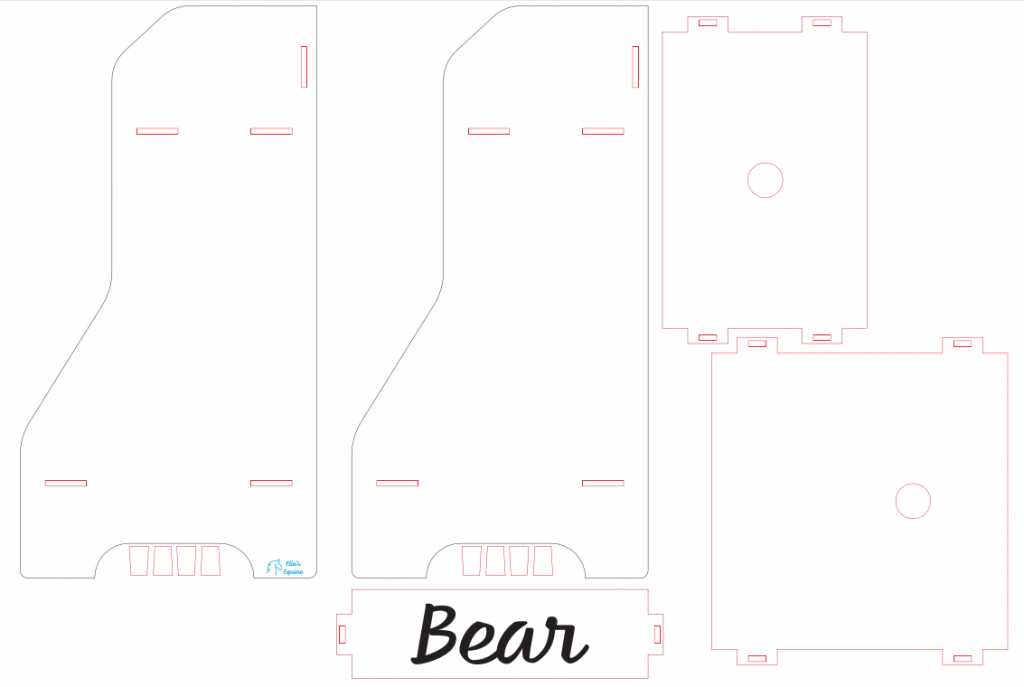
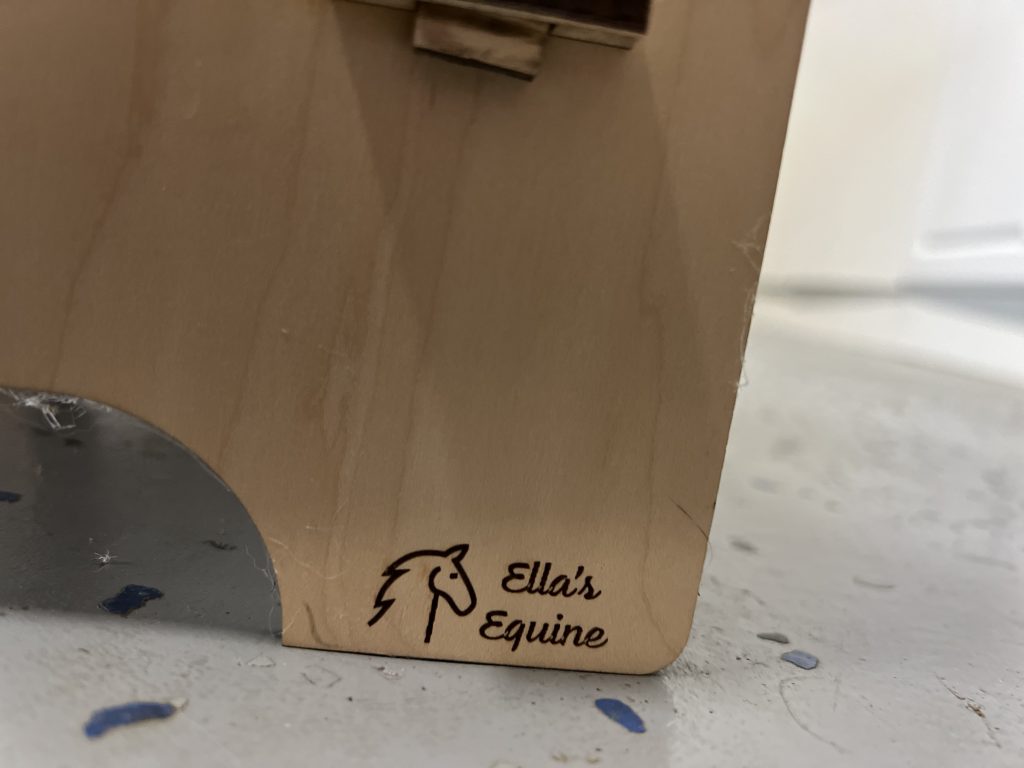
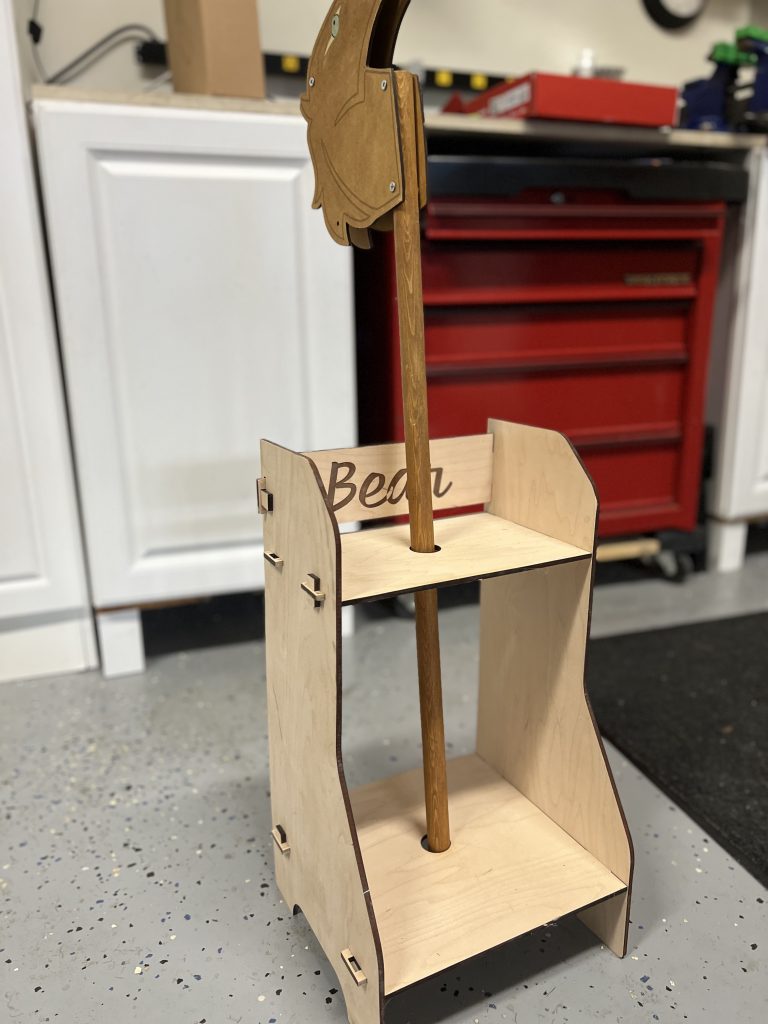
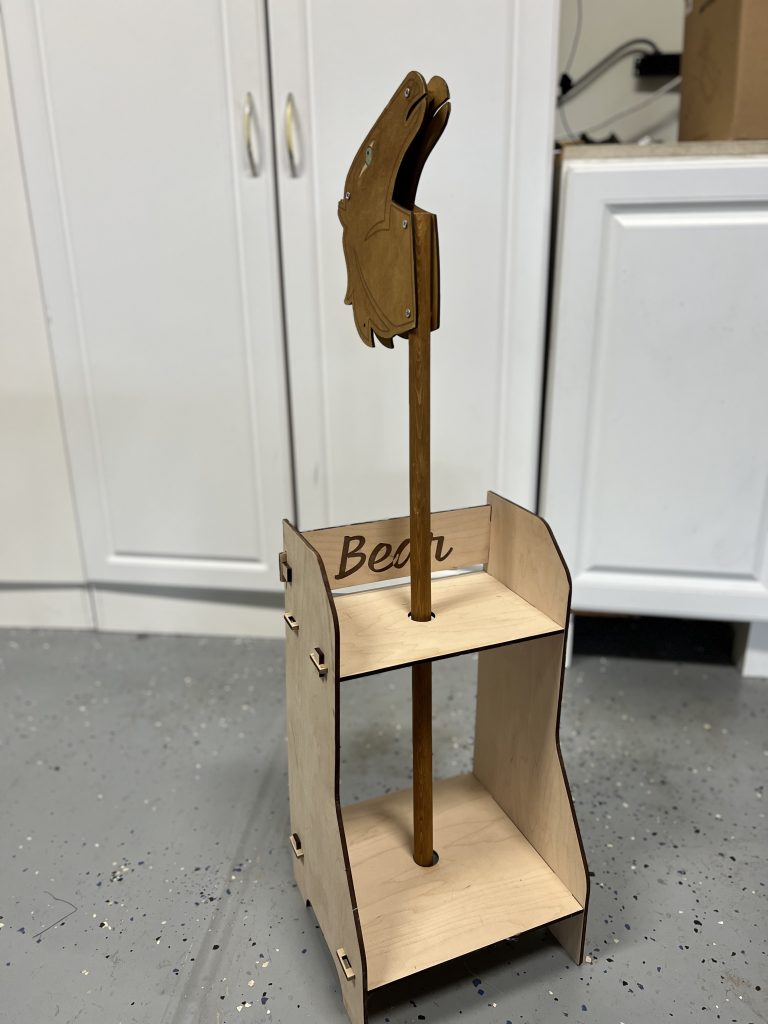
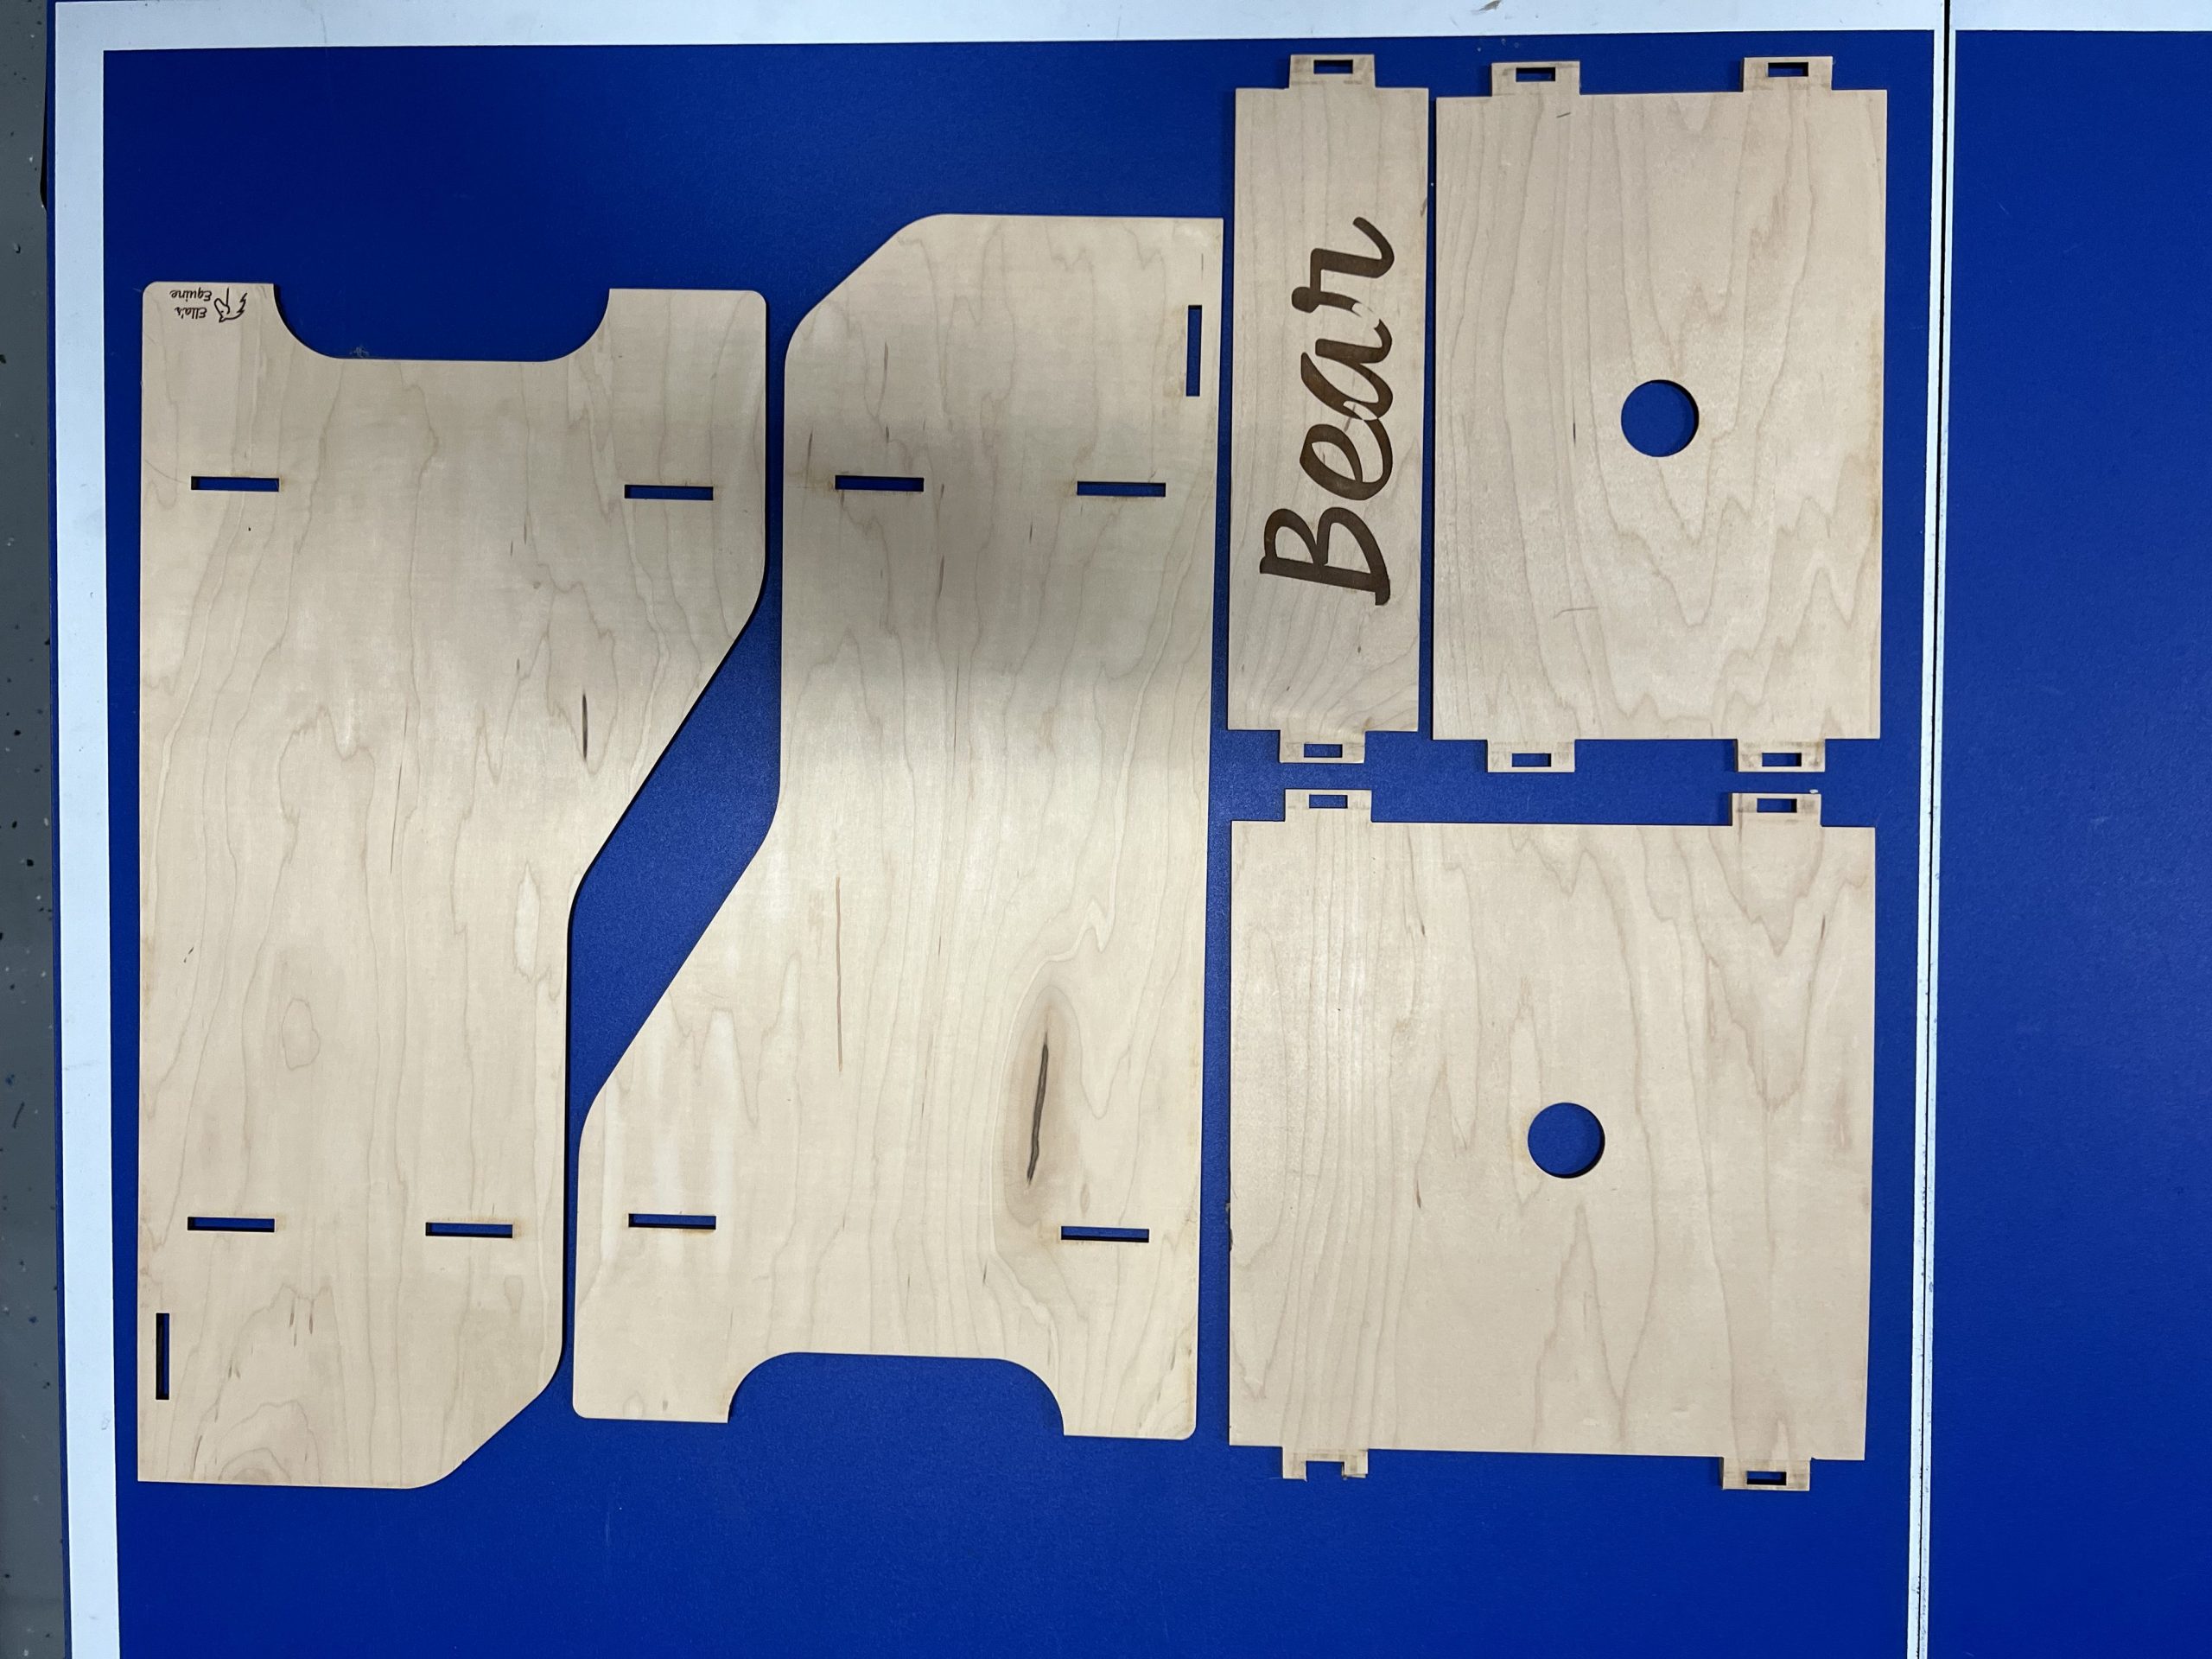
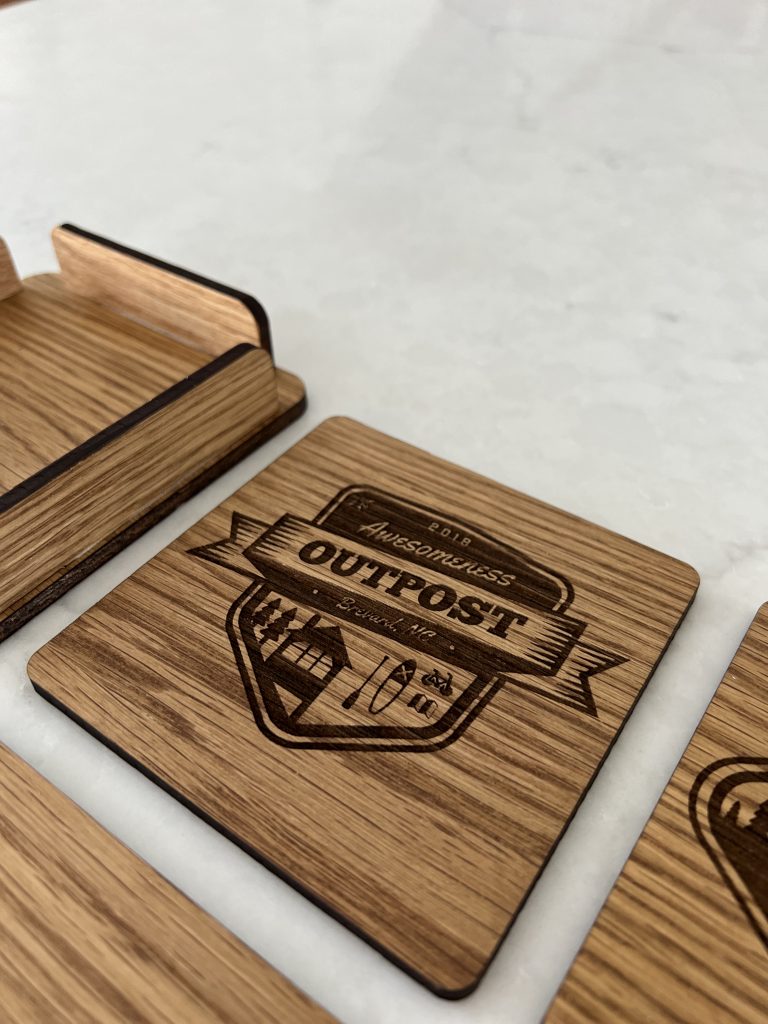
A couple years ago, hobby horses were the rage with the kids and after making a couple, Ella wanted a “holder”, so we laser cut this little horse holder from some plywood.
One of the benefits of Quantum Computing is their ability to generate truly random numbers.
Since classical computers are deterministic machines, governed by algorithms, they are inherently predictable. Therefor any number generated by a classical computer, even if it seems complex is actually based on a set of conditions or algorithm, which therefor makes it a “pseudo random number”, rather than truly random.
To generate truly random numbers you need to rely on a physical processor or phenomena that are unpredictable, examples of this include radioactive decay, electronic noise or even atmospheric noise.
Since QC is essentially based on a physical process and the probabilistic nature of quantum mechanics, its qubits can exist in a superposition state, this means they can represent a combination of 0 and 1 simultaneously, this state/property can be harnessed by QRNG (Quantum random number generators) to produce truly random numbers.
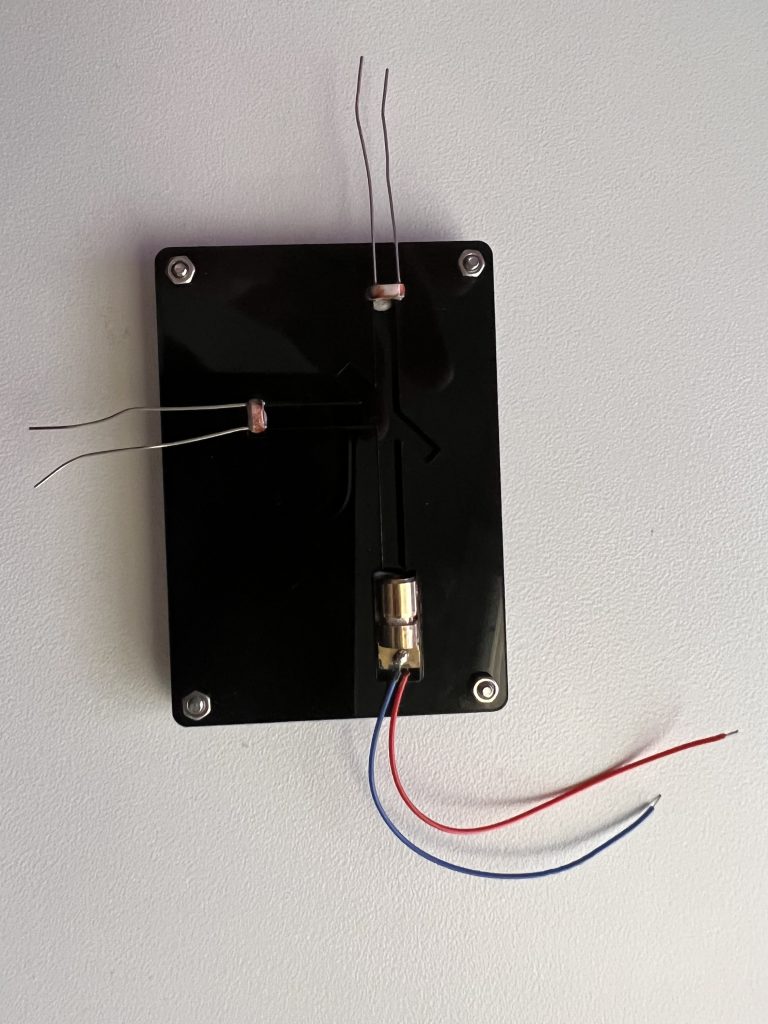
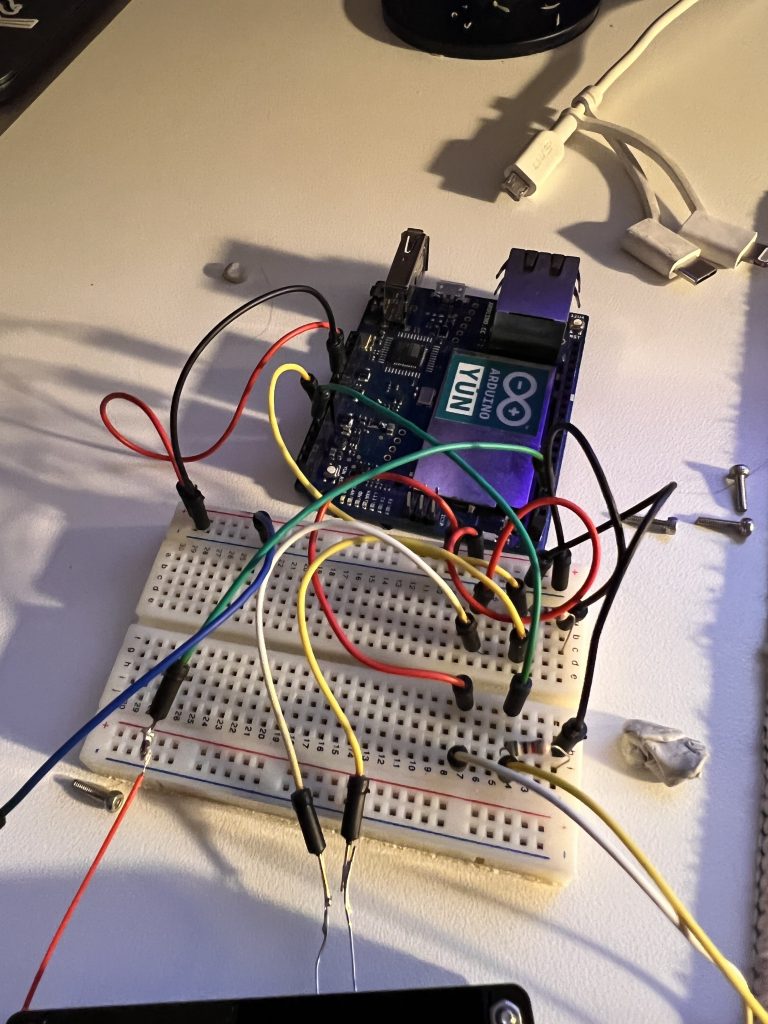
As a fun project, I decided to build a small physical QRNG using an Arduino, laser diode, beam splitter and two photo resistors. The basic premise is that you pulse the laser, it sends a wave/particle (both!) through the beam splitter, 50% of the time it should hit one of the two photo resistors, providing you with a random string of “1”s or “0”s.
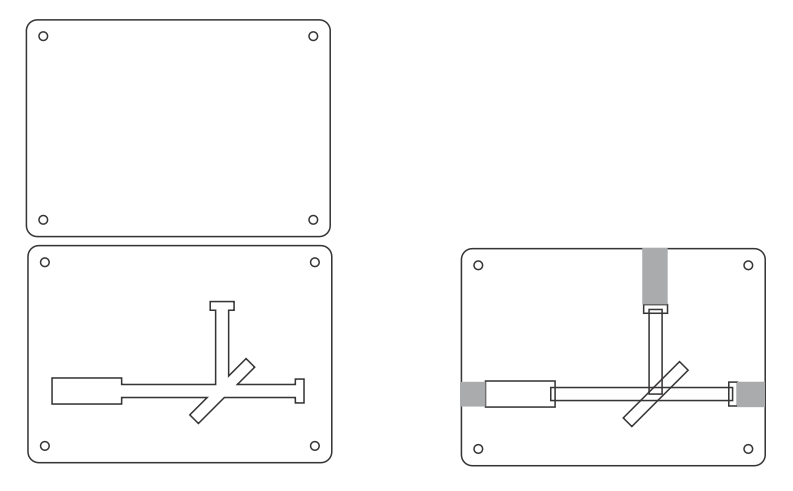
While a very simple, basic and small example, it is a fun experiment. Check out OpenQbit.com if you would like to build your own. To make this a little easier, I laser cut a template/outline for the beam splitter for holding each of the components.
/*      Annotated QRNGv1 Firmware V1.1
   Author: Noah G. Wood
   Modified: Paul Aschmann
   Copyright (c) 2019 Spooky Manufacturing, LLC
   License: GPLv3.0

*/
int triggerPin = 2; // This pin will pulse our quantum circuit
int hPin = A0; // This pin measures the horizontal polarized photons
int vPin = A1; // This pin measures the vertically polarized photons
float H = 0;
float V = 0;
long previousMillis = 0;
long interval = 1000;
float maxH = 0;
float maxV = 0;

void setup() {
  // Just setting up triggerPin and serial connection
  //pinMode(13, OUTPUT);
  pinMode(triggerPin, OUTPUT);
  Serial.begin(9600);
}

int Random() {
  // Pulse the laser
  digitalWrite(triggerPin, HIGH);
  //delay(1);
  digitalWrite(triggerPin, LOW);
}

void loop() {
  // The main program
  // Run our program and print the random bit to serial
  //delay(1000);

  unsigned long currentMillis = millis();

  if (currentMillis - previousMillis > interval) {
    previousMillis = currentMillis;
    Random();
  }

  // Read the photoresistors
  H = analogRead(hPin);
  V = analogRead(vPin);
  // Determine random bit
  if (H > V) { // More photons in the H mode, return 0
    Serial.println("-------------------- >  H: ");
    Serial.println(H);
    Serial.println("V: ");
    Serial.println(V);
    if (H > maxH) {
      maxH = H;
      Serial.println("New max H");
    }
  } else if (V > H) { // More photons in the V mode, return 1
    Serial.println("-------------------- > V: ");
    Serial.println(V);
    Serial.println("H: ");
    Serial.println(H);
    if (V > maxV) {
      maxV = V;
      Serial.println("New max V");
    }
  } else {
    Serial.println("Same values");
  }
  delay(1000);
}
read more
We have owned a Glowforge since their introduction and it has been a fun tool to work with. Here a few of my notes on cutting various materials, some acronyms and details which I found useful on this learning journey.
Terminology
GF: Shorthand for “GlowForge”. There are two types of GF: basic and pro. They differ in the size of material that can be processed and the power of the laser.
PG: Shorthand for “Proofgrade”™. PG material is provided by GF and is already calibrated for cut/score/engrave. The table below is for manual (not PG) material on a GF Basic.
Laser: The ‘Pro’ version has a 45W CO2 laser. The basic (my version) has a 40W CO2 laser. The laser power impacts the ‘Power’ setting. (50% of 45W is not the same as 50% at 40W.)
Speed: Value from 1 to 1000. 30% speed is 300. (The forums sometimes call this “zooms” as it zooms around.) NOTE: GF changed the scale during their beta period. If you see instructions prior to Aug 2017 that use very slow speeds (e.g., 15 for speed), then it’s likely the old scale. Using those slow speeds on the new GF will likely cause a fire.
Power: Value from 1 to 100. 20% power is 20. With a 40W laser, 20% power is about 8W. (The forums sometimes call this “pews” as in “pew pew pew!” You might have someone say “I used 800 zooms and 50 pews.” The terms ‘zooms’ and ‘pews’ came about because GlowForge doesn’t provide units.) Keep in mind, power is not necessarily linear! And the intesity will drop with age (just like any light bulb).
LPI: Lines per inch. Mostly for graphics/engraving. Defaults to 225. Use higher value to prevent rastering. At around 300LPI, the engraving dots overlap. 225 is good for draft, but will raster. 340 has no noticable rastering on most materials. At super high 1355LPI, you might see numberical error in the rastered graph that looks like a pixel shift. I’d avoid anything over 600LPI.
Flashback: When the laser cuts through, it may create sparks off the crumbtray’s metal. These sparks can create burns, or flashback, on the back of the material. Lowering the amount of power (or increasing speed) reduces flashback.
Kerf: The laser burns away material. The kerf is the gap created by the laser. More power creates a wider kerf. Some materials melt or burn back (e.g., foam or paper), creating a wide kerf.
On really hard material, just assume the kerf is 0.002″ (0.05mm).
In general, kerf on PG hardwood is about 0.002″, and 0.002-0.022″ in general.
PG Medium Maple has a kerf around 0.008″.
PG Draftboard has a kerf around 0.002″ (use 0.05mm – 0.06mm; 0.05 is barely loose; 0.055mm is good).
PG Acrylic has a kerf around 0.002″ (0.05mm).
Zebrawood, Purpleheart, and other really hard woods have a kerf around 0.002″ (0.05mm).
For inlays: Take half the kerf from the outside material (small hole) and half the kerf from the inside material (fill hole). Increase the inside/fill material’s size by this amount. If the outside material is flexible (e.g., wood) and you want a really tight fit, increase the size of the inside/fill material by another 0.001″. For inflexible (acrylic, hardwoods), you might add 0.0005″ for a really snug fit.
Inlay: Acrylic in Medium Maple: Increase acrylic by 0.020. Using 0.015 can be finger-pressed in but also pops out easily. Using 0.017 can still be popped out. However, if 0.020 doesn’t fit in the first time, then first put in 0.017 and then pop it out. That will stretch the hole just a little so the 0.020 fits tightly and will never come out.
Inlay: Acrylic in Medium Draftboard: (TBD) Increase acrylic by 0.025. The kerf from draftboard is larger than a hardwood like medium maple.
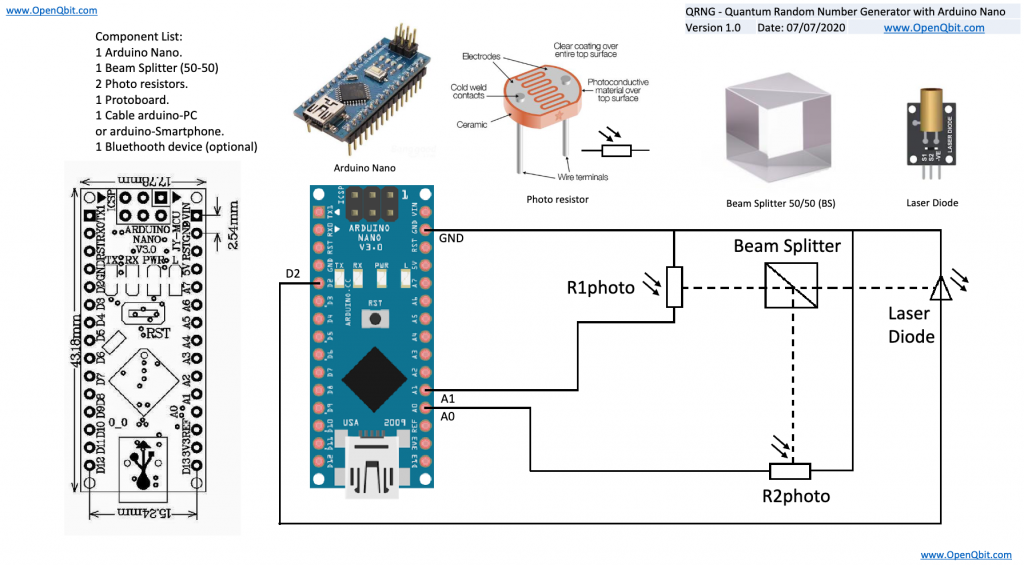
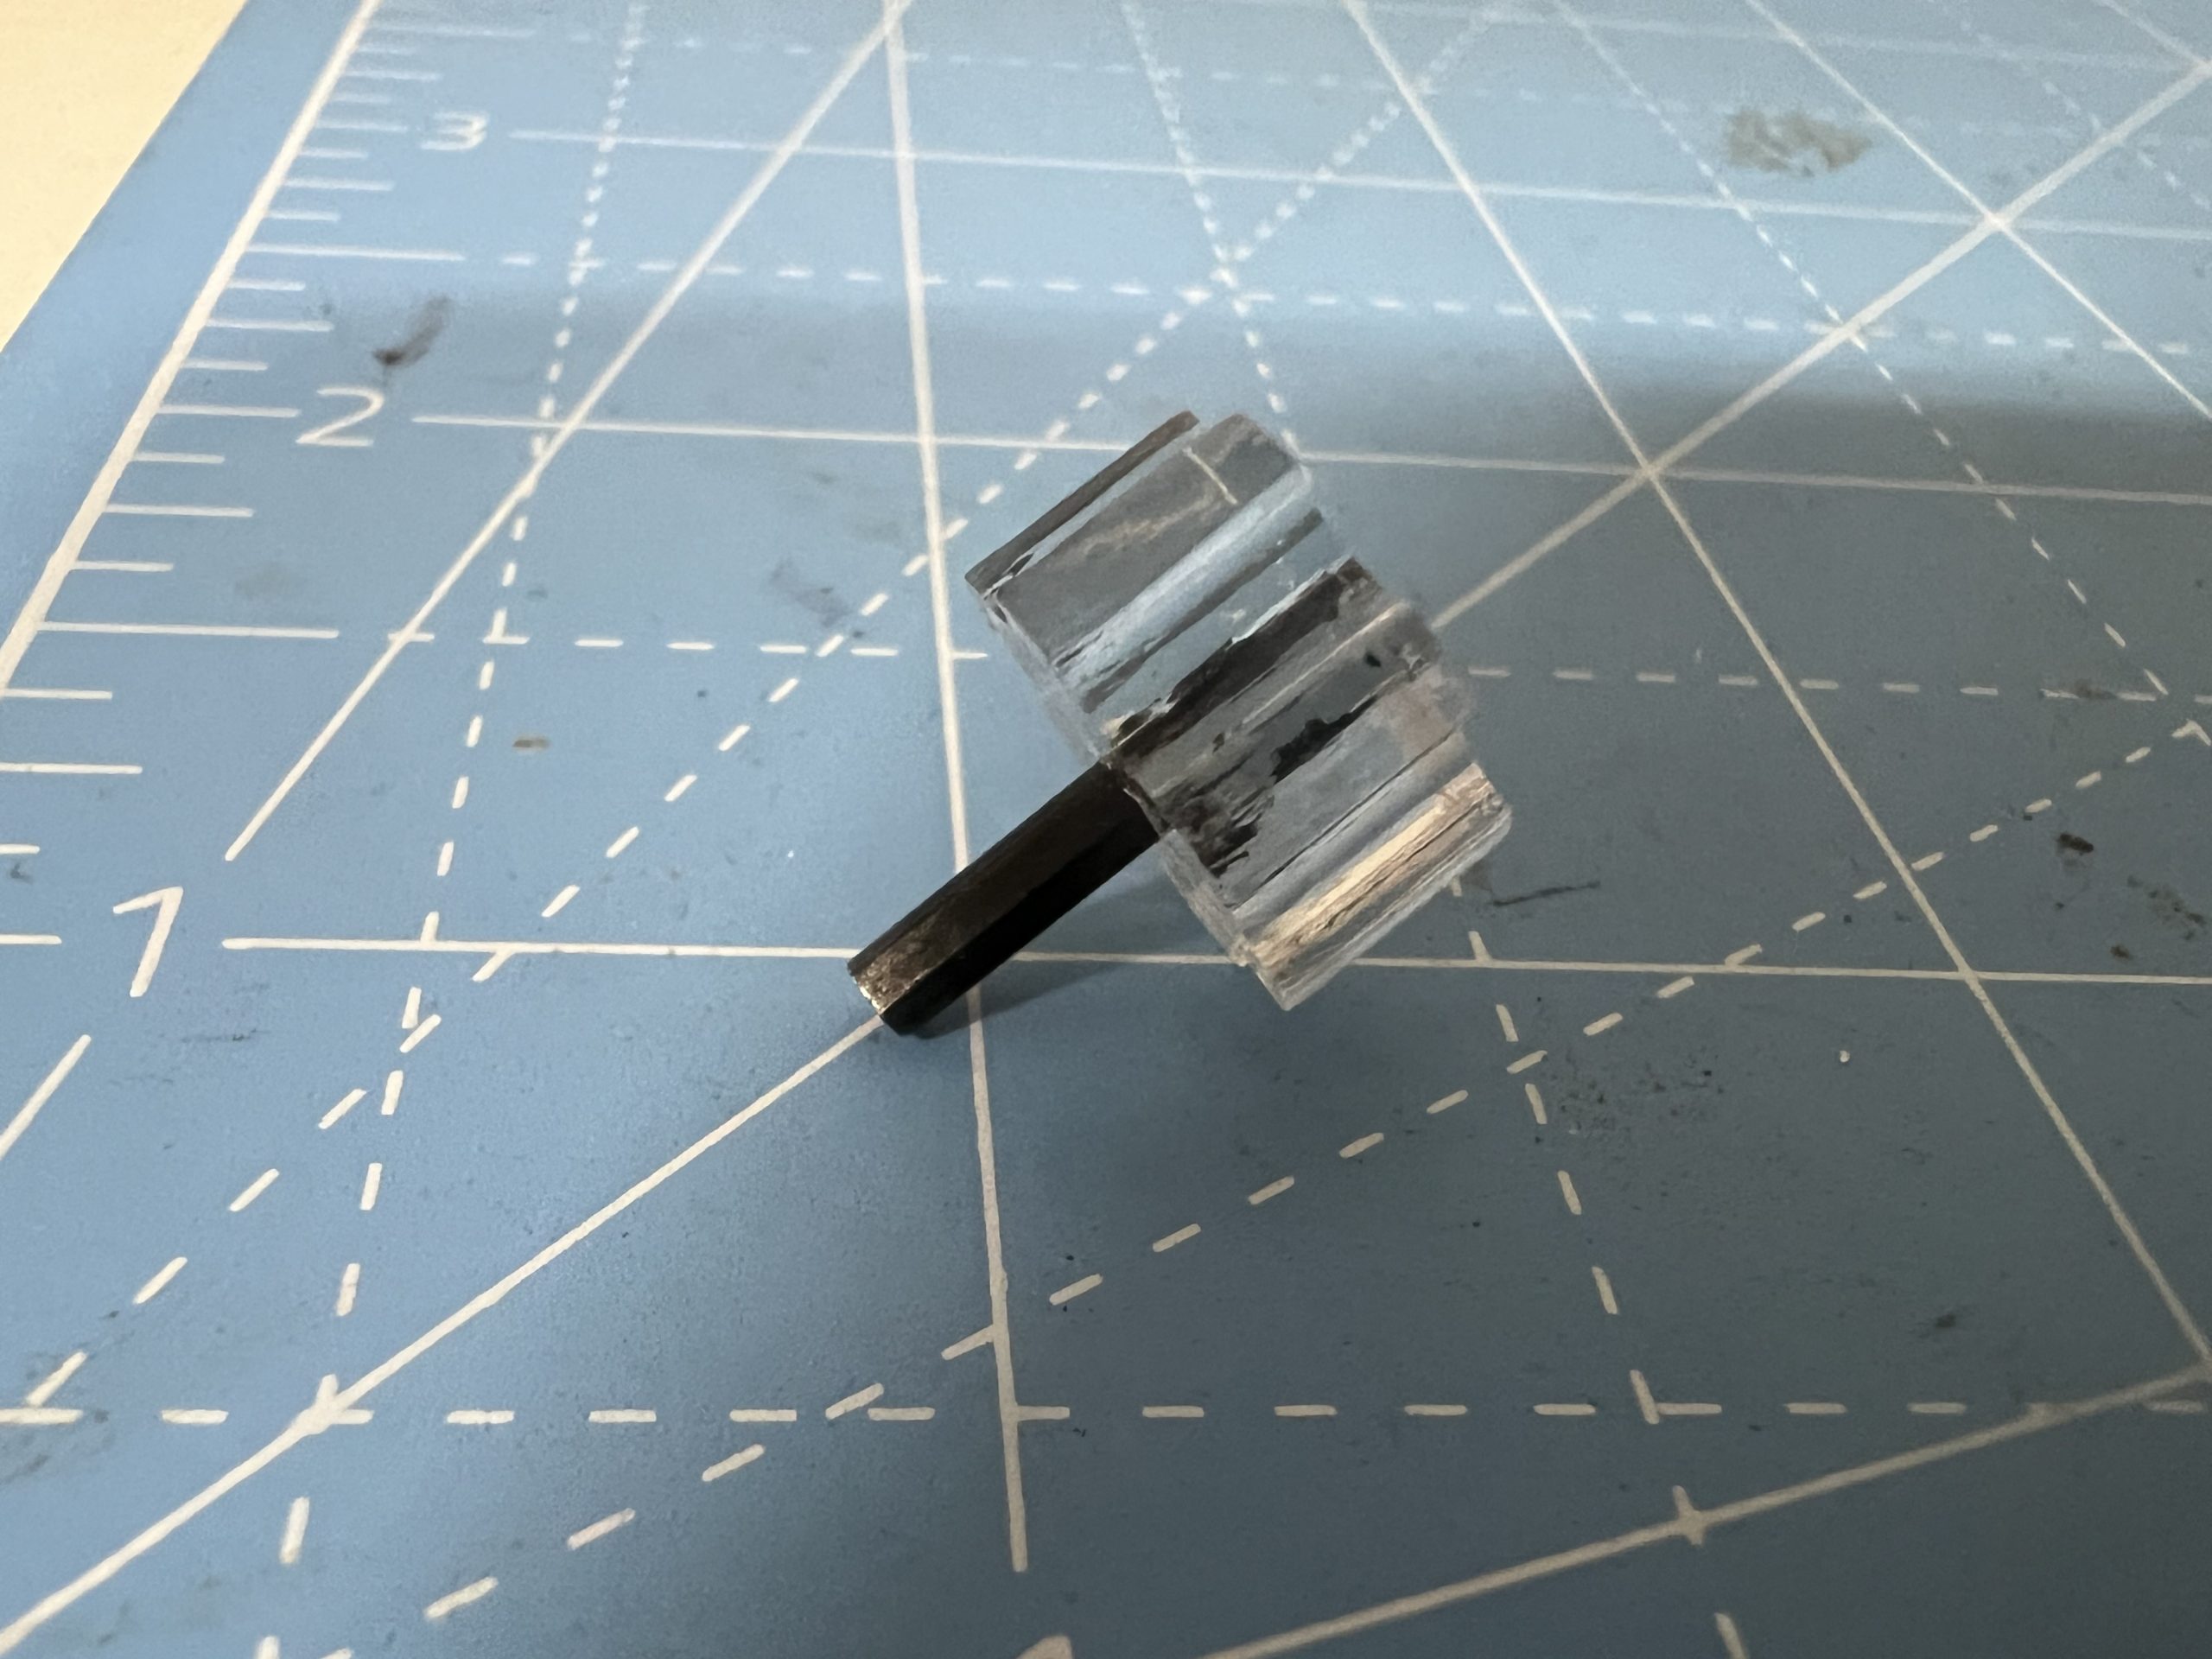
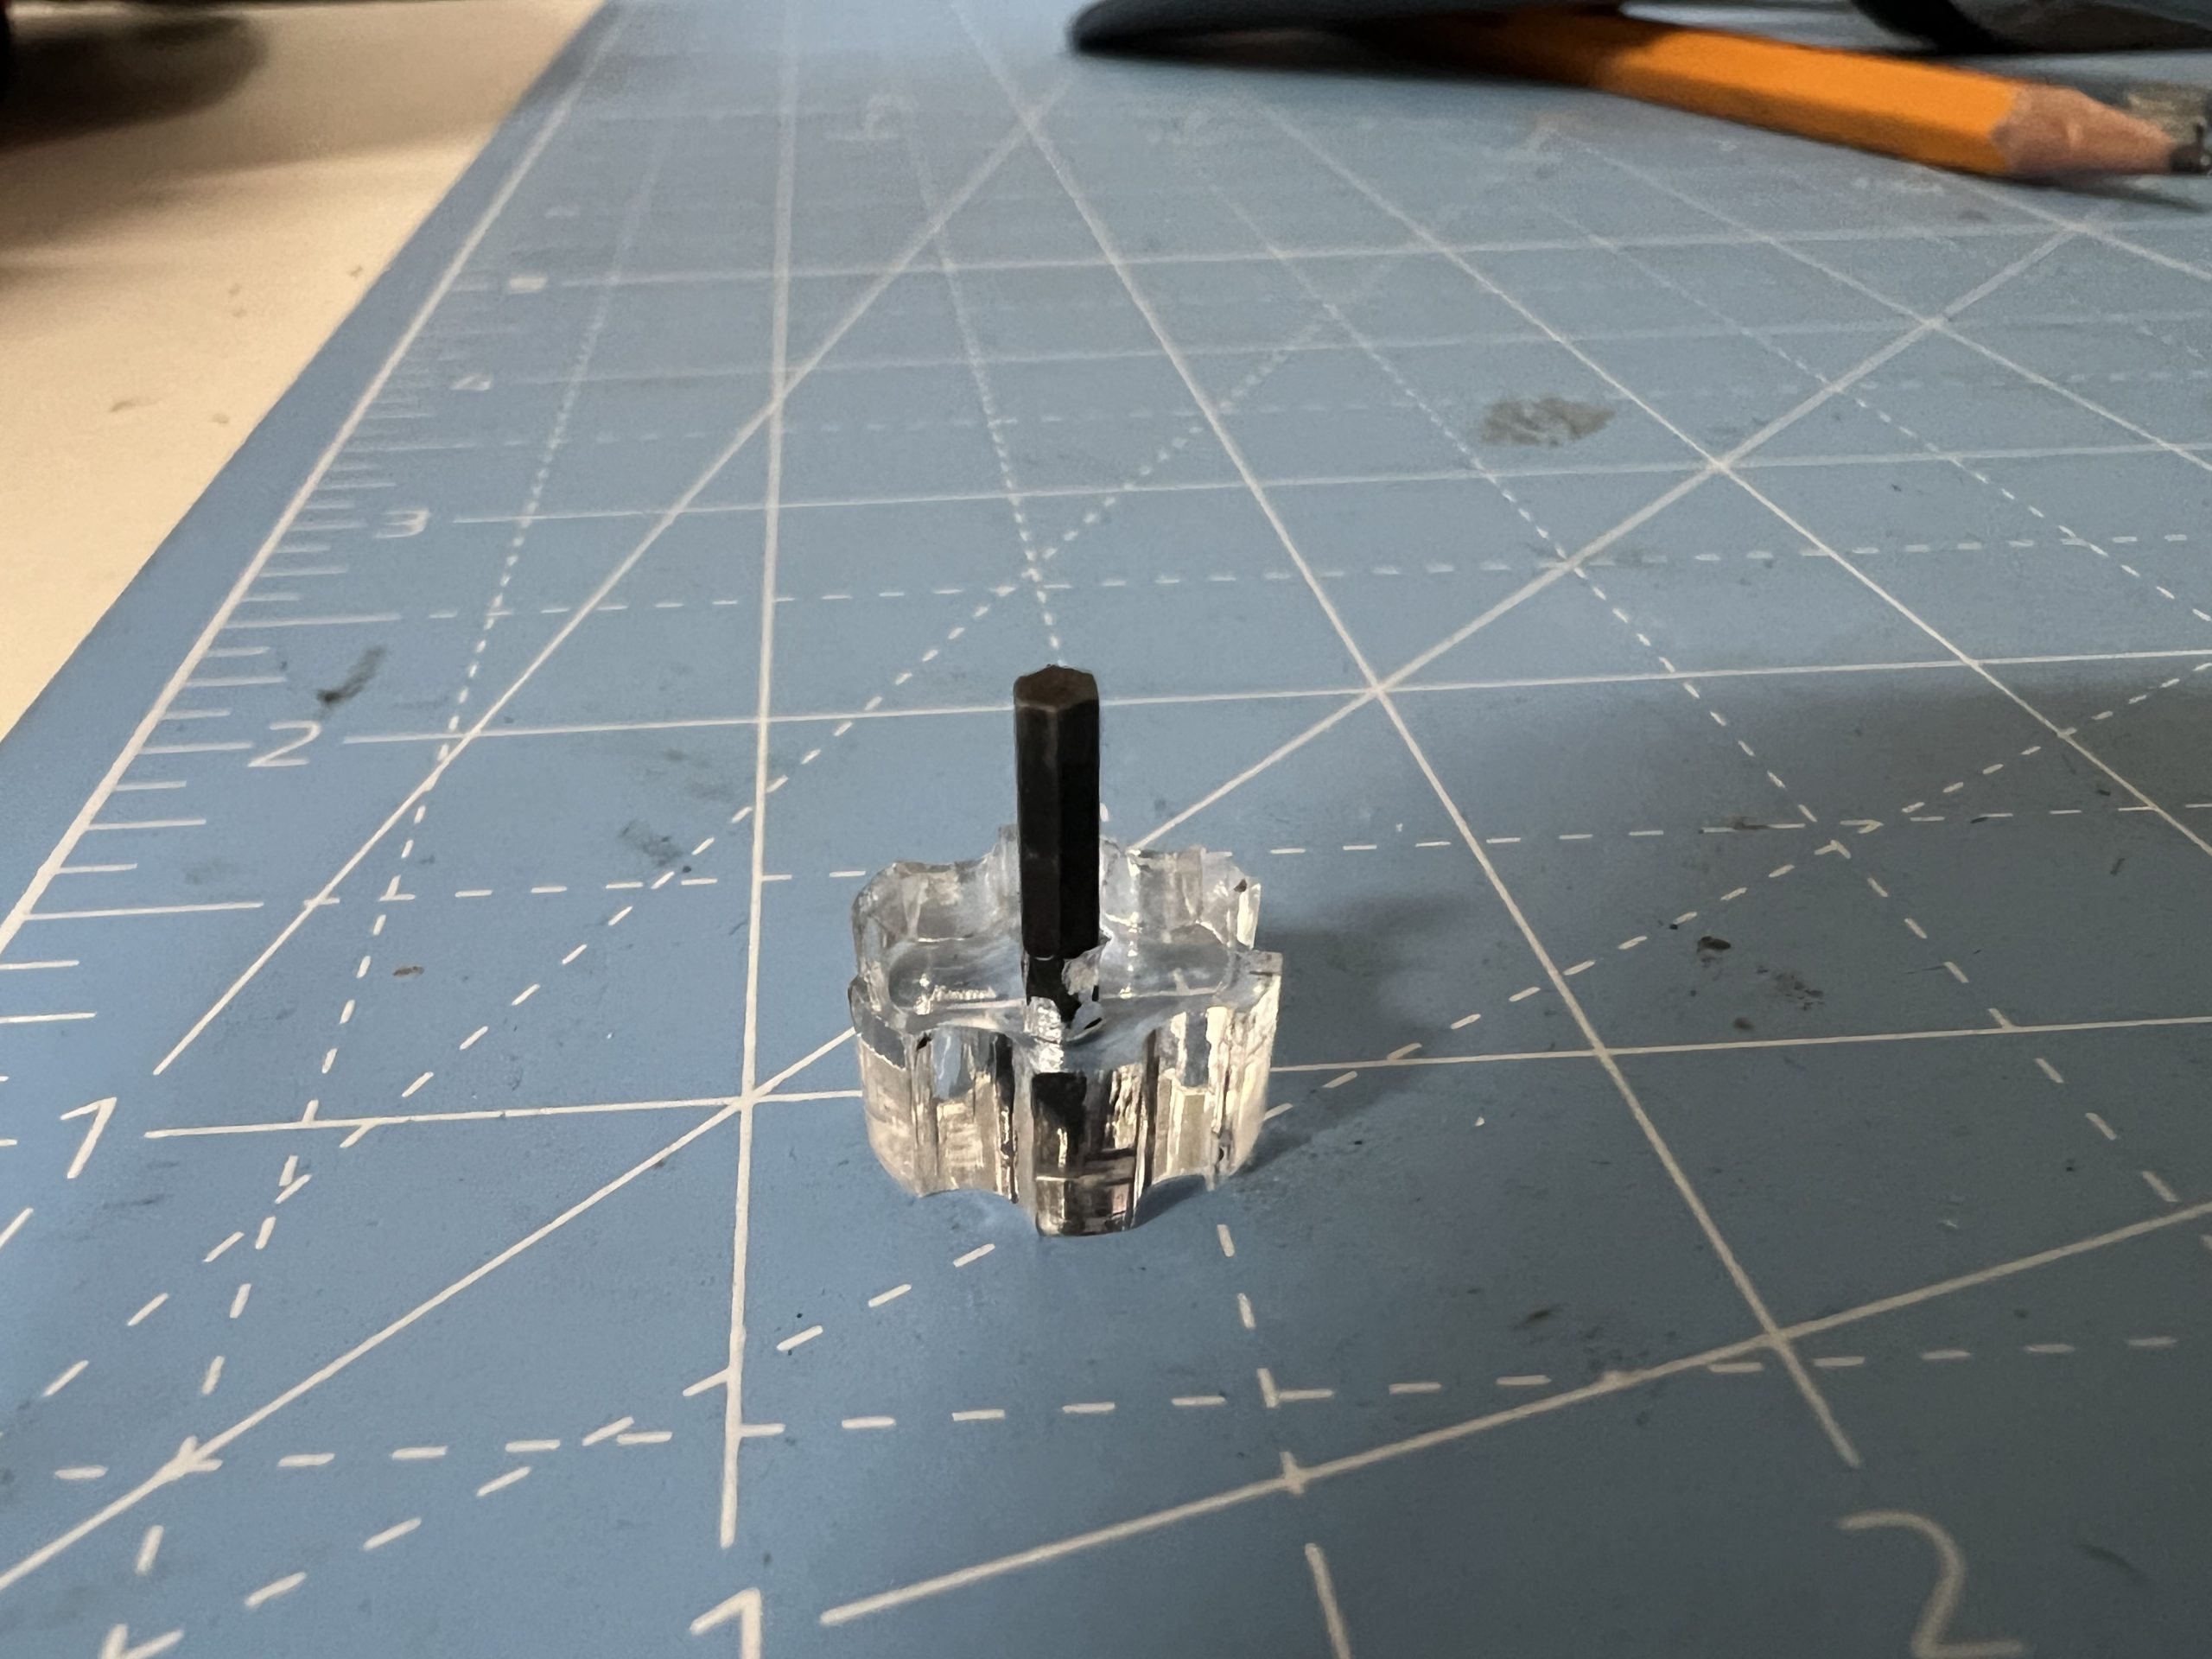
One of the smaller projects I have designed and cut, and probably one of the more useful. This small too lets you easily adjust the SRAM brakes reach point easily, since it is really difficult to get a tool or Allen wrench into the confined space.
This was cut out of acrylic and then a small section of Allen wrench heated and molded into the thumb screw.


You must be logged in to post a comment.