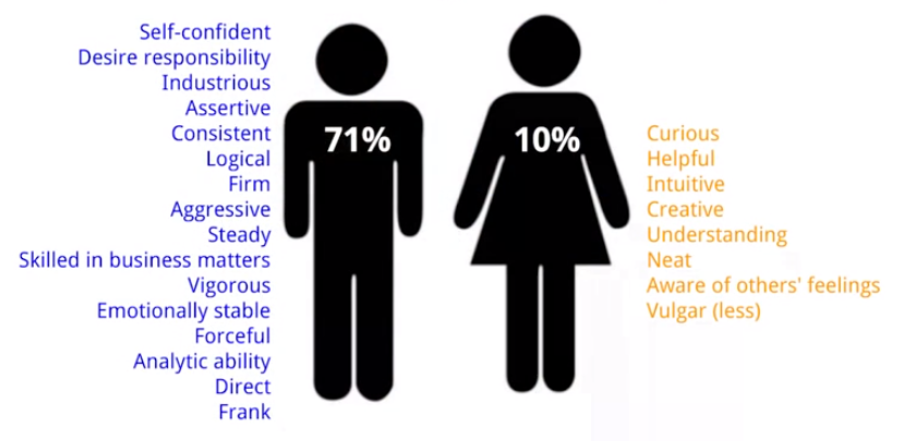
What makes a good manager?
Personal collective of ideas, thoughts and notes


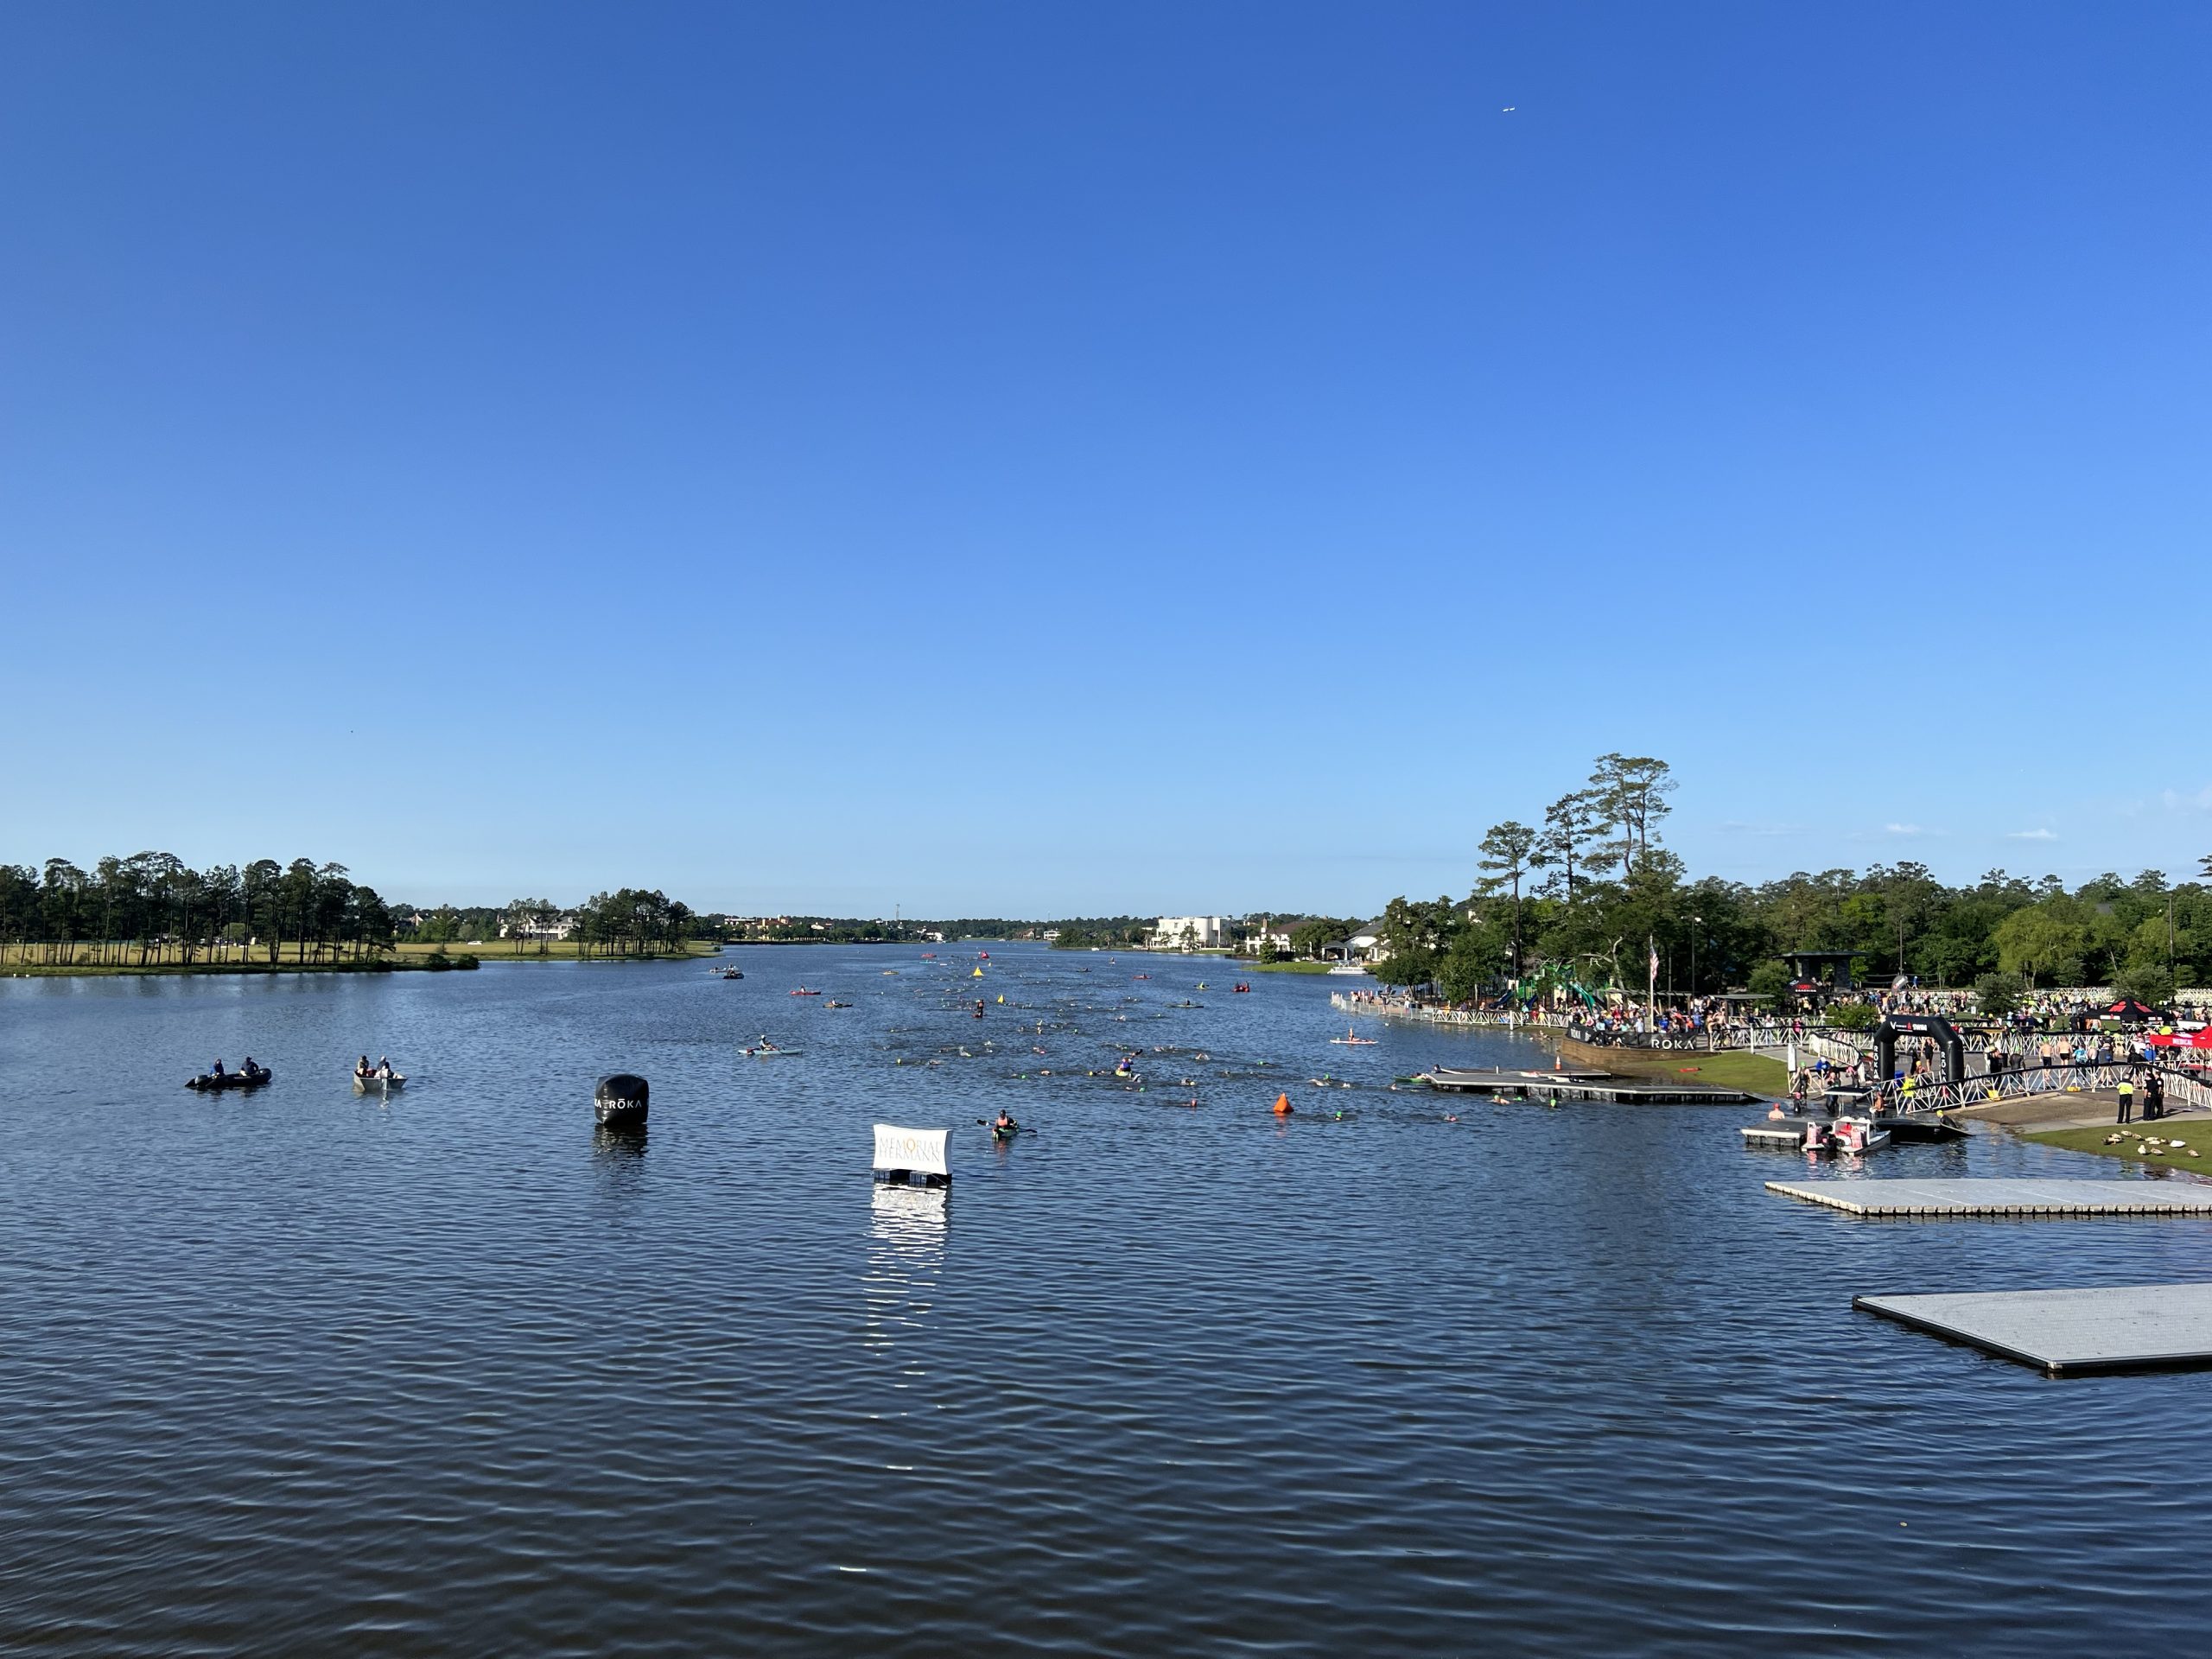
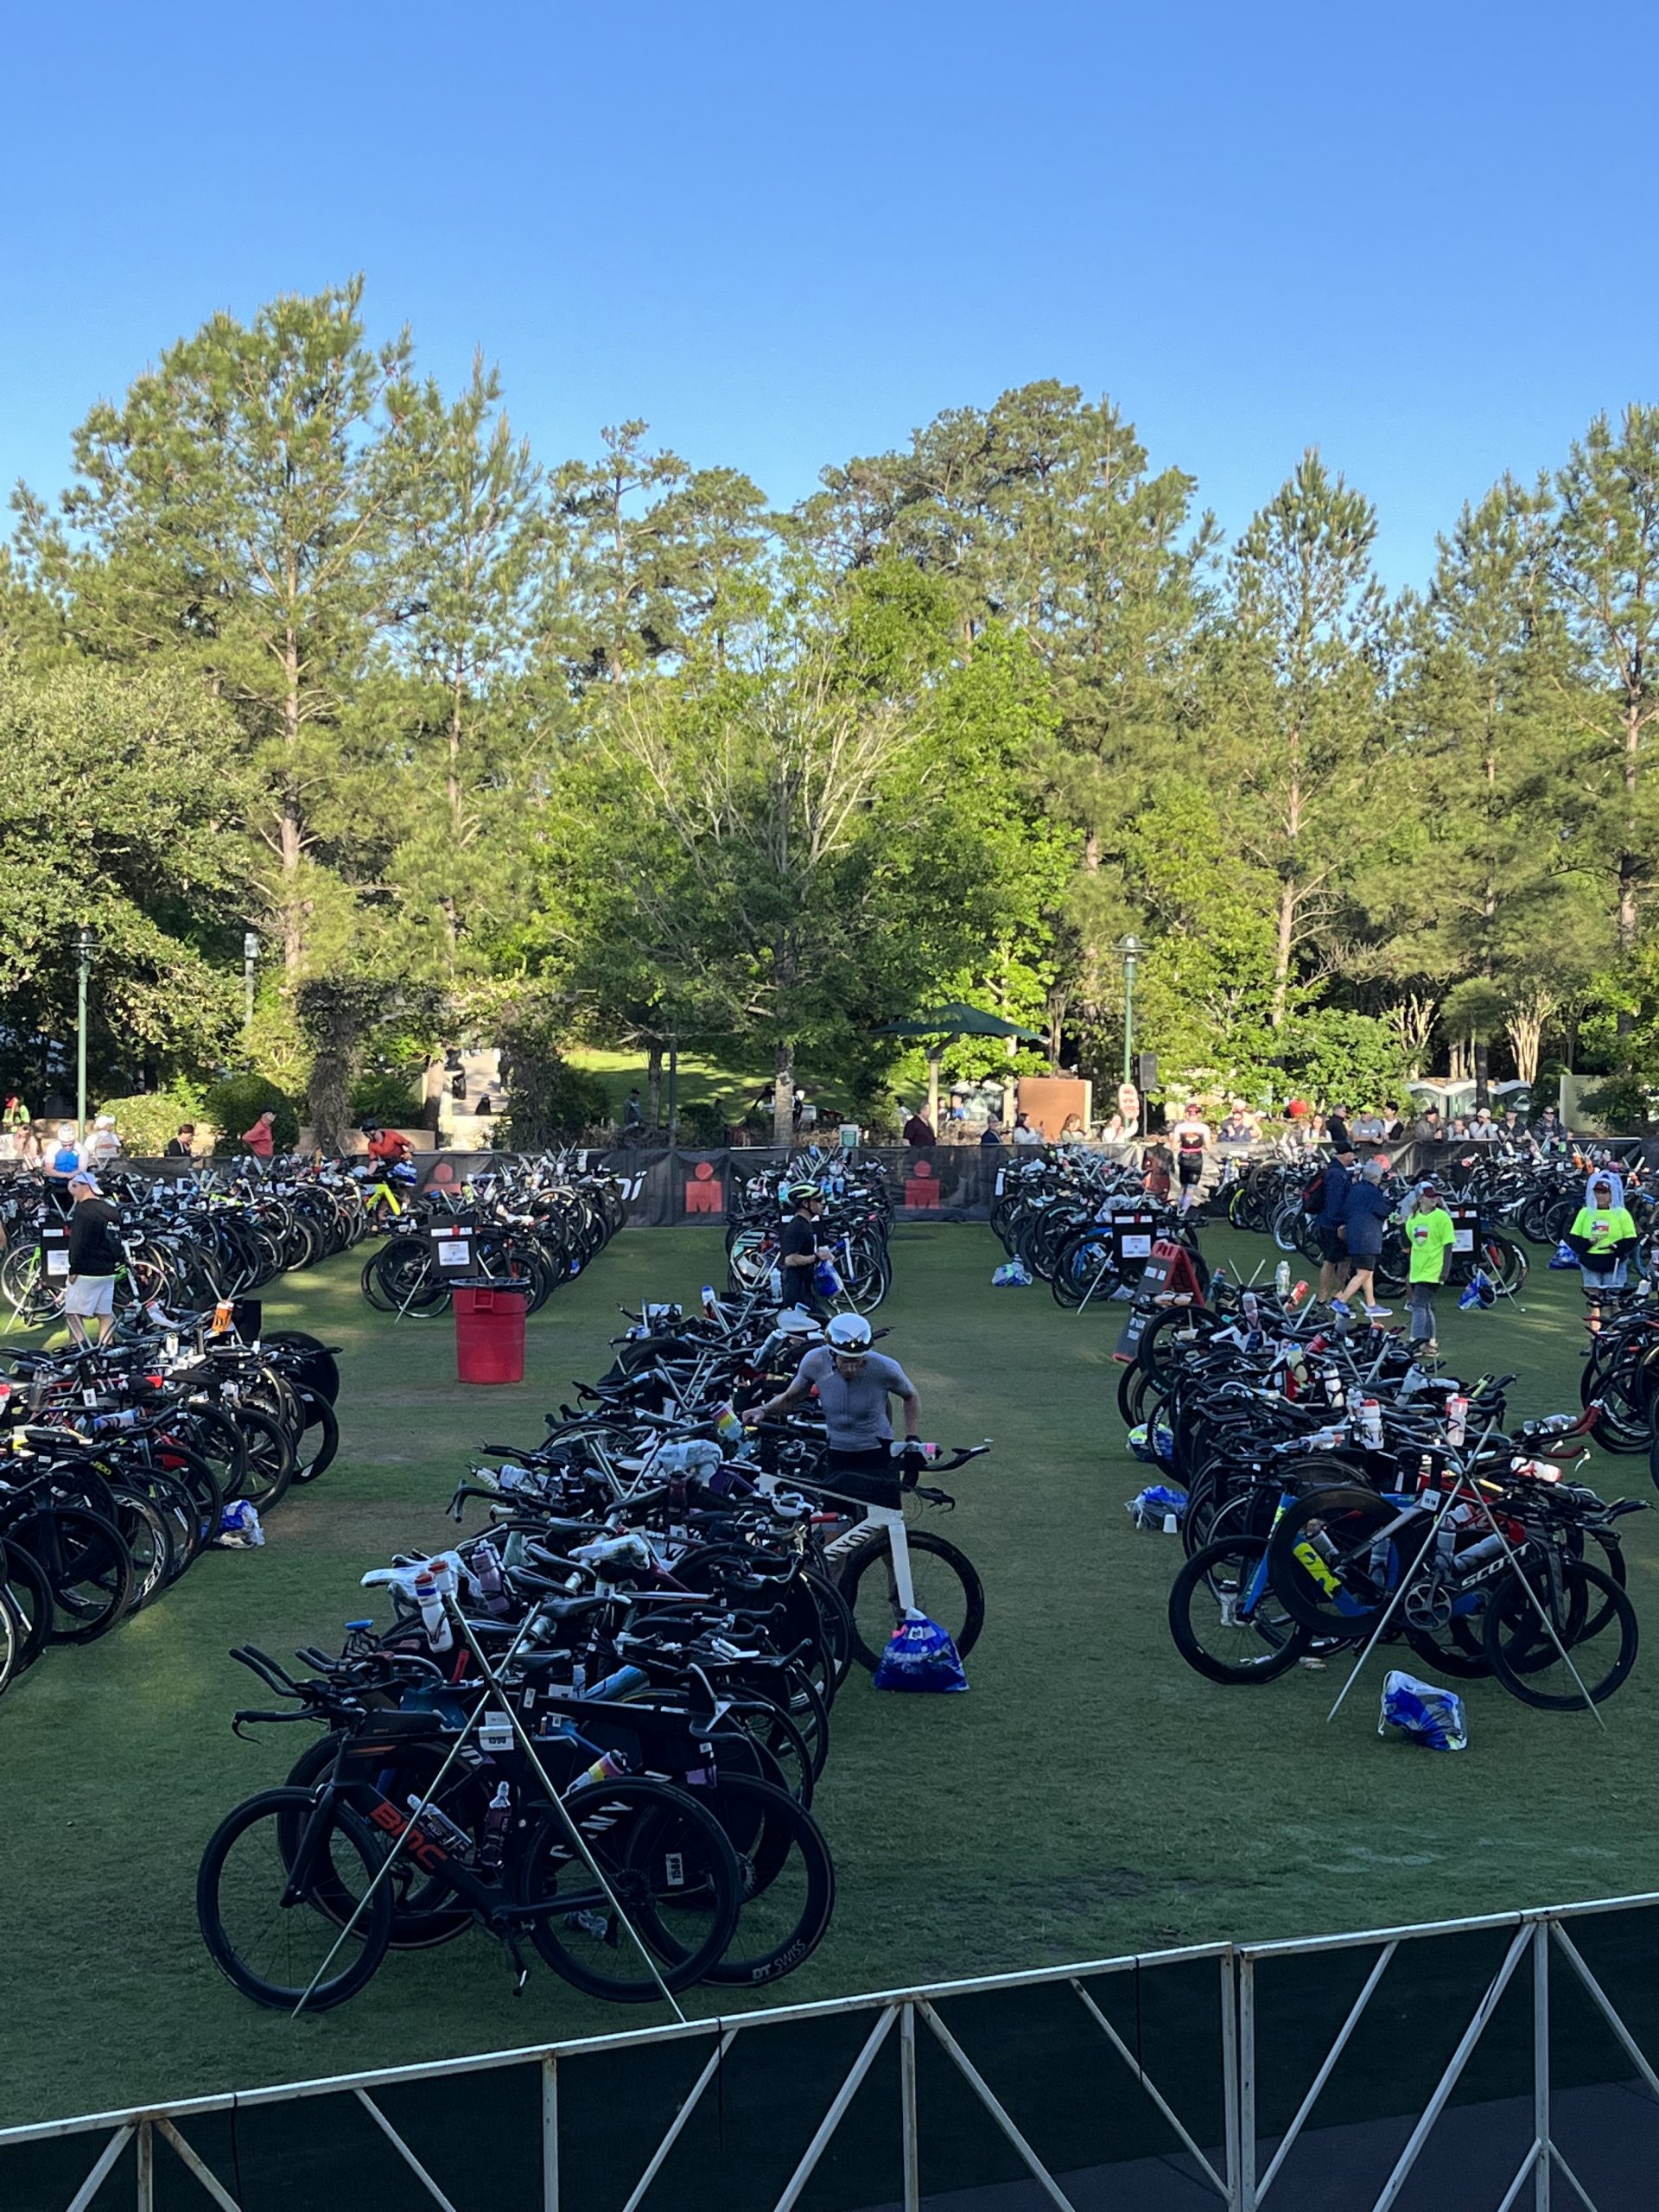
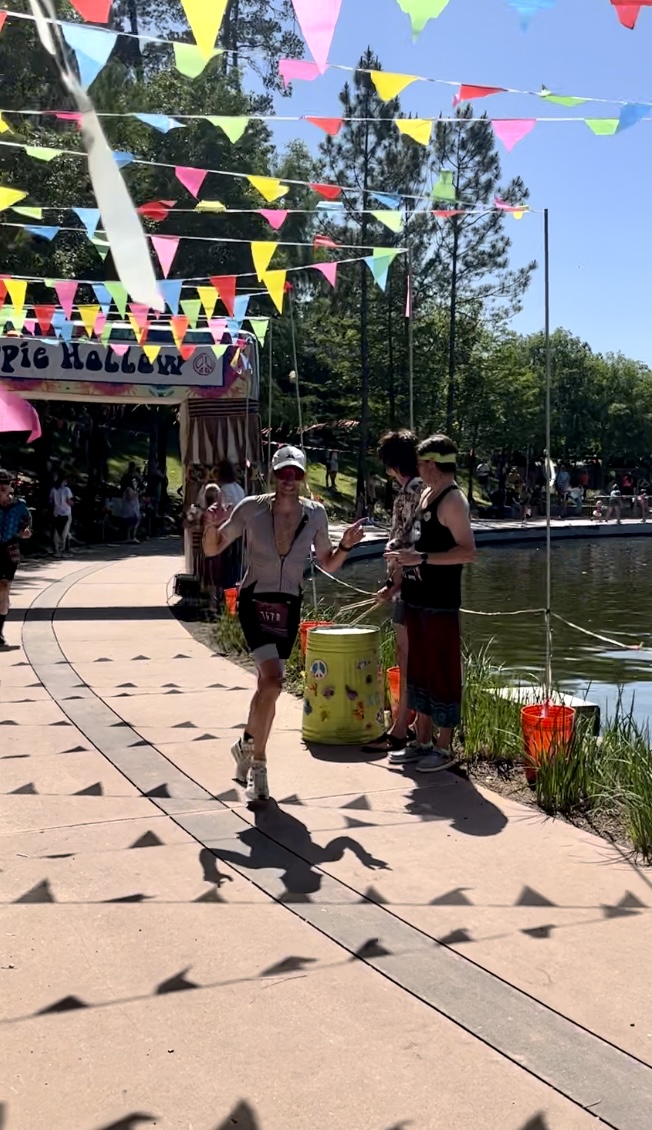
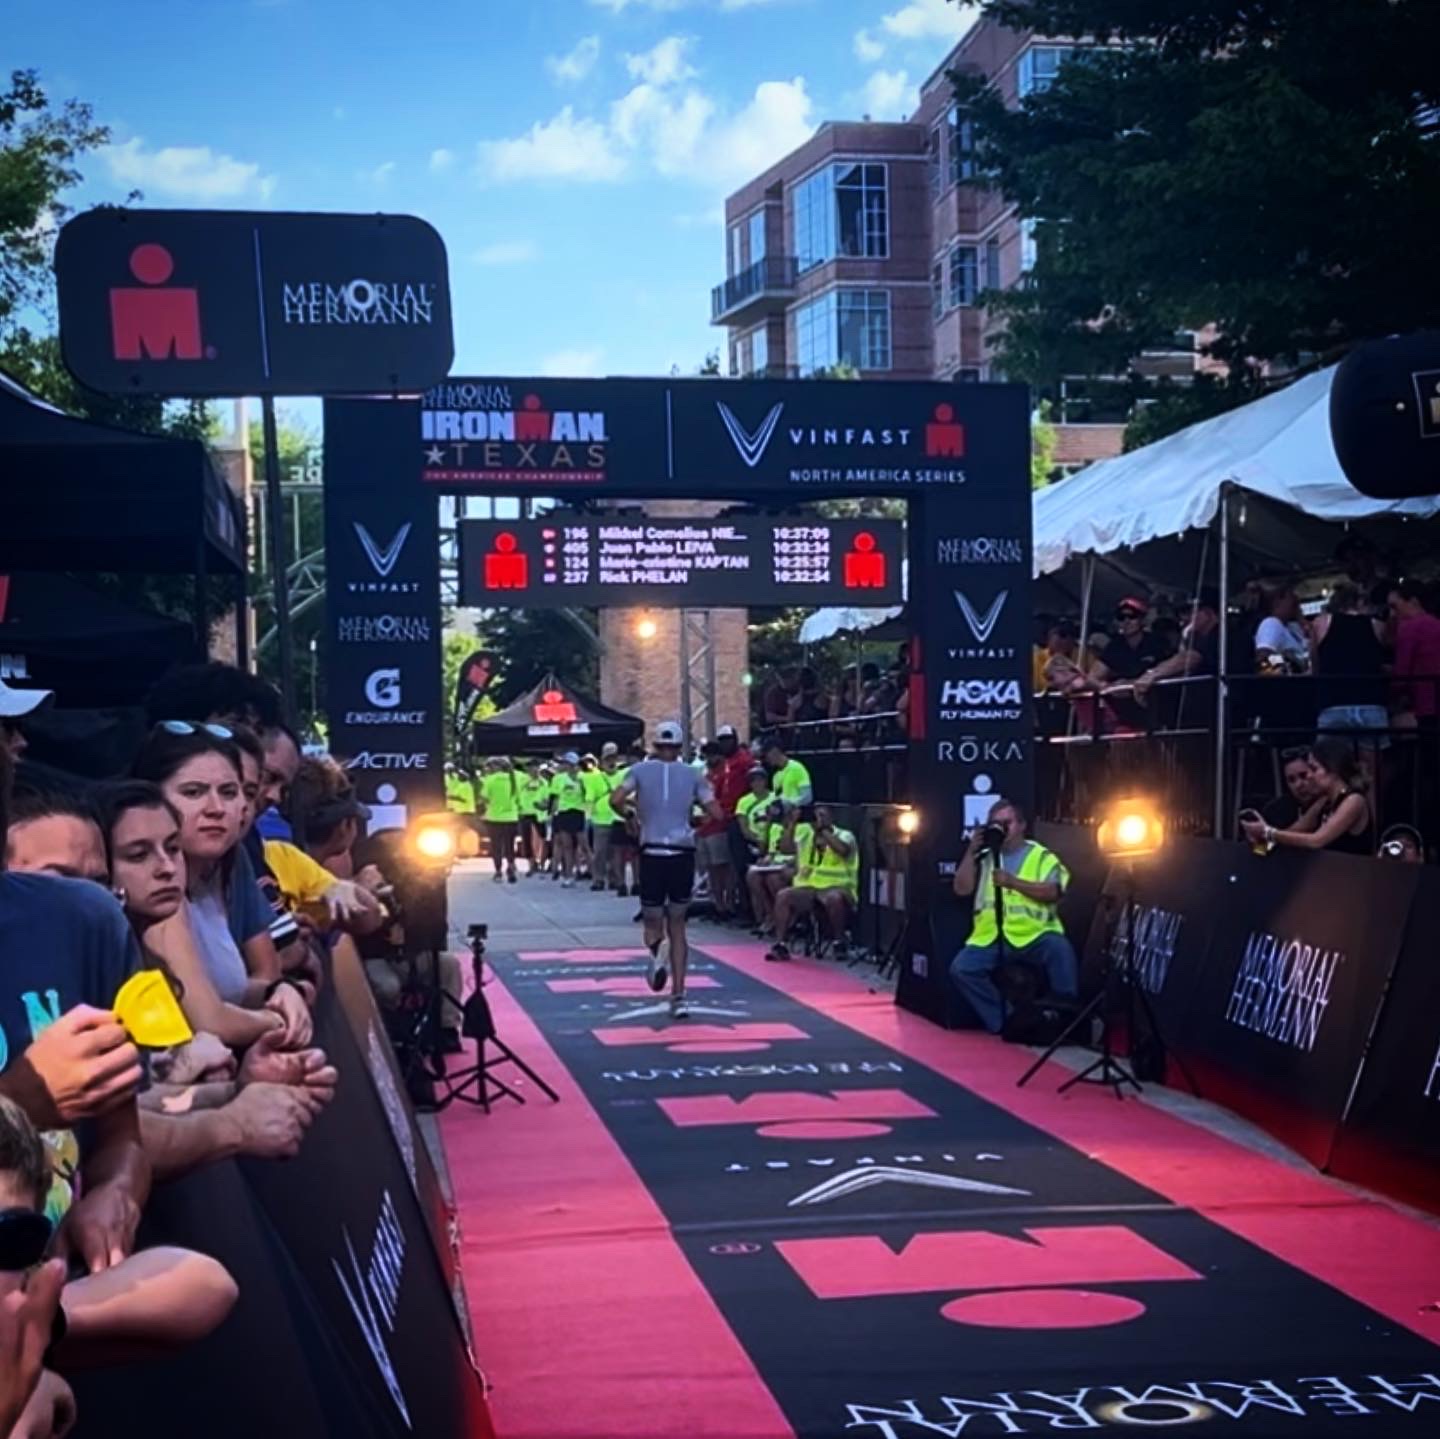
Reasonably last minute, 11 weeks before the event, I decided to sign up for Ironman Texas … a full distance Triathlon has been on my bucket list for a while now. Overall the race did not go according to plan, but most importantly I finished and it was very rewarding experience. Doing something this long for the first time is hard 🙂 Here are a few photos from the event, my favorite was the fun area of “Hippie Hollow”.


Taper:
Packing/Flying:
Since so many different sites, companies and training plans refer to different heart rate training zones, this image might help show their similarities and differences for each of the terminologies.
Being an app developer, friends, family and co-workers often ask the question, how much does an app cost? This is a nice breakdown from Couchbase on the elements, stages and how long each stage of the development lifecycle takes, which helps with cost estimates.
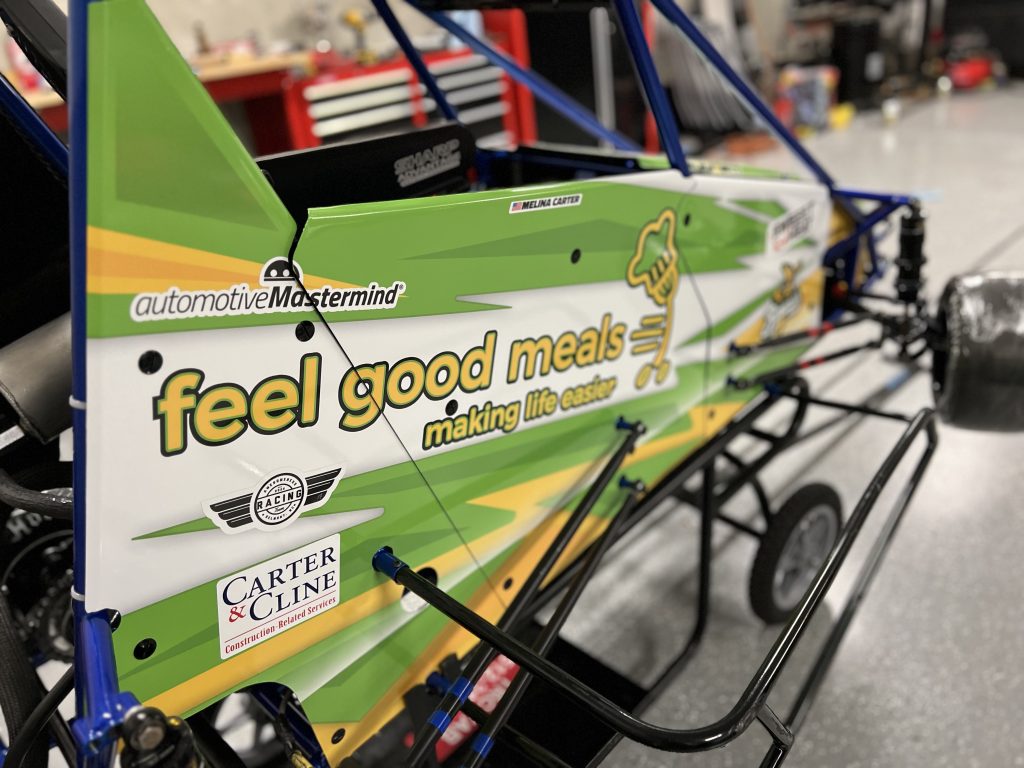
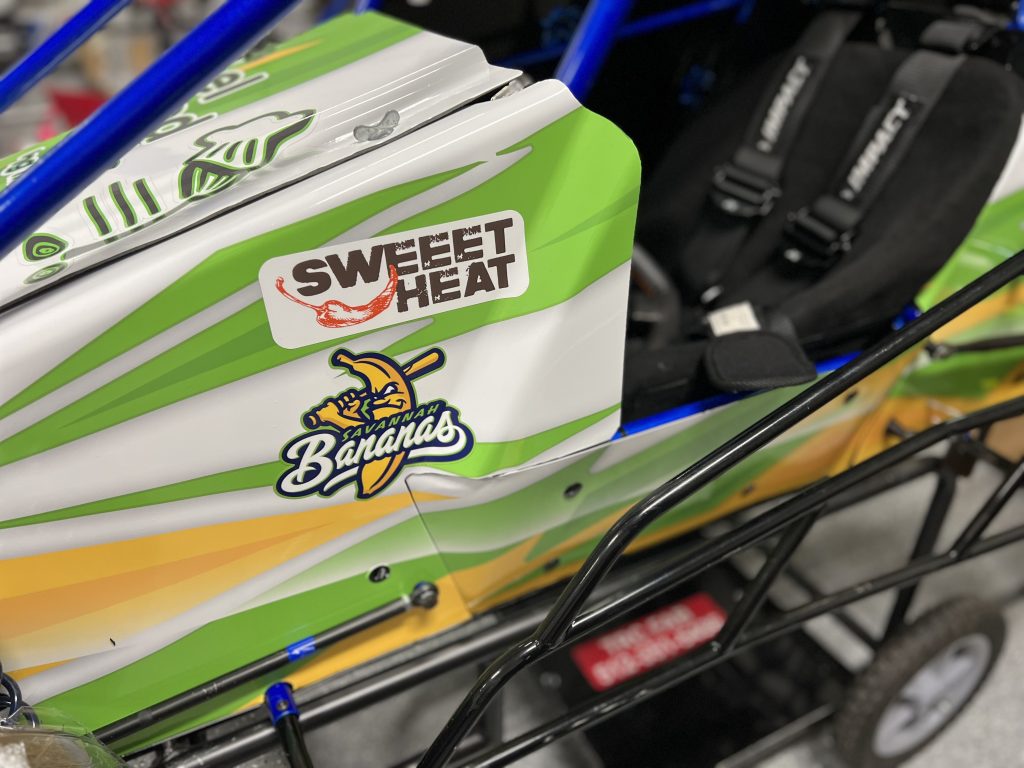
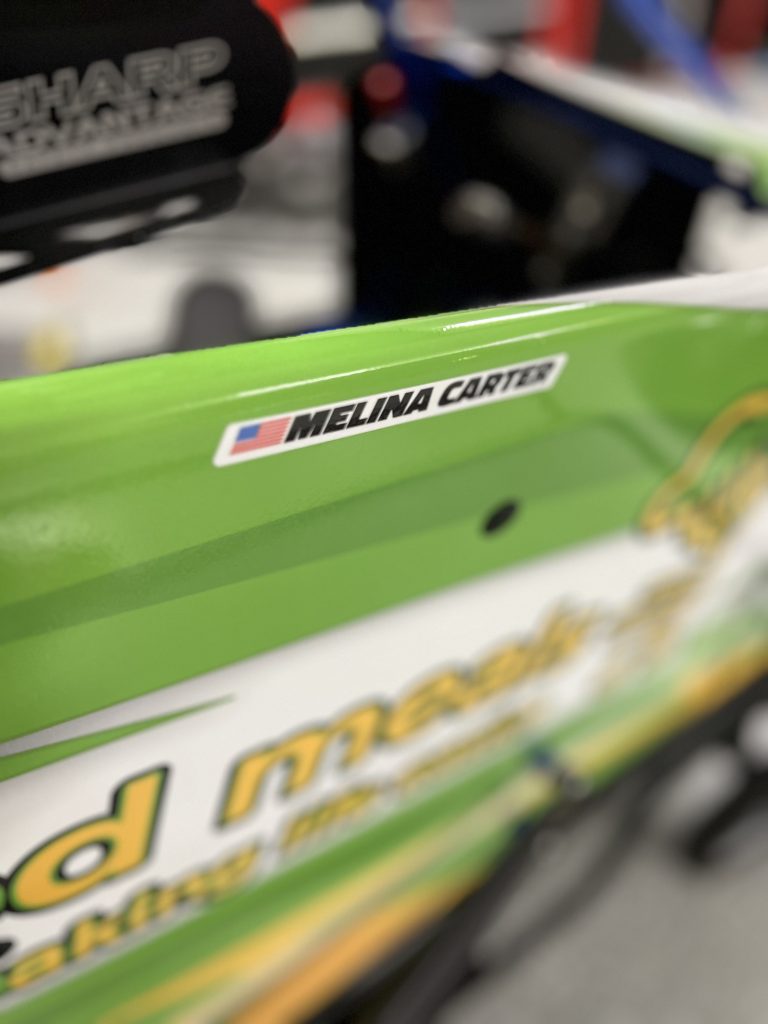
Had a fun time designing race car wraps for a friend of mine and their kids who race Quarter Midgets. Bringing something from a the digital space to physical is really enjoyable and rewarding.


As one of the three important Fuel and Hydration, sweat loss, and more specifically, the replacement of fluids, is an incredibly important aspect of endurance racing, and is strongly correlated to race day survival, performance and recovery. The other two aspects, fuel (primarily carbohydrates) and electrolytes (primarily sodium) are the other two components. Without any one of the three, long distance and endurance events, or races, become considerably more challenging, and the chances of you finishing, drastically diminish.
Understanding how much fluid you have to consume during an event is determined by a variety of factors and variables. A few of the variables:
Time of Day, Heat, Humidity, Diet, and Effort. In addition, your sweat rate is unique and may also change throughout your life. Unlike your relative sodium concentration, which generally is constant throughout your life and in the majority of circumstances.
There are only two types of companies: those that have been hacked, and those that will be.
Robert Mueller, FBI Director, 2012


Majority of golf rounds played since 2012.
You must be logged in to post a comment.