
Personal collective of ideas, thoughts and notes
Games have come along way since my all time favorite Excite Bike on the NES but with today’s consoles pushing out more power than your moms microwave, there is no wonder companies like THQ are coming up with awe inspiring graphics, excitement and realism while being so immersive.

Like many of you I’m sure, I have spent countless hours playing the demo of MX vs ATV reflex. I know Sugar Ridge better than my local track and even started dreaming about nailing the elusive quad after the rolling whoops. When I finally received the final version I was excited to get to play a couple more tracks and get online to battle some of my moto rivals. The first part happened but second fell well short, but more on that in a minute.
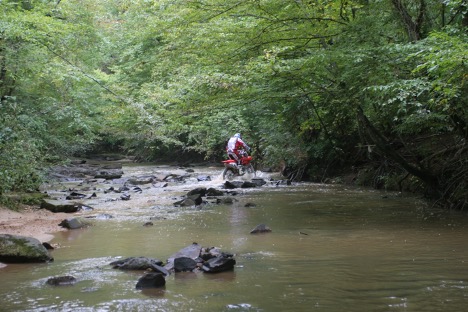
Stream Crossings
Trail Riding or racing in our part of the country it seems inevitable you are going to come across a stream, creek or small river to cross. In most cases it’s a fairly easy path to the other side but sometimes it can be tricky, consider these tips while navigating the water sections on your next crossing and it may end up being easier than you thought.
Some keys to remember:
9/10 times the rocks underneath are going to be pretty slick
Look for the shallowest and shortest point to cross
If you are unsure about the depth or strength of the current, get a stick and check before crossing!
Make sure you have an exit point to aim for on the other side
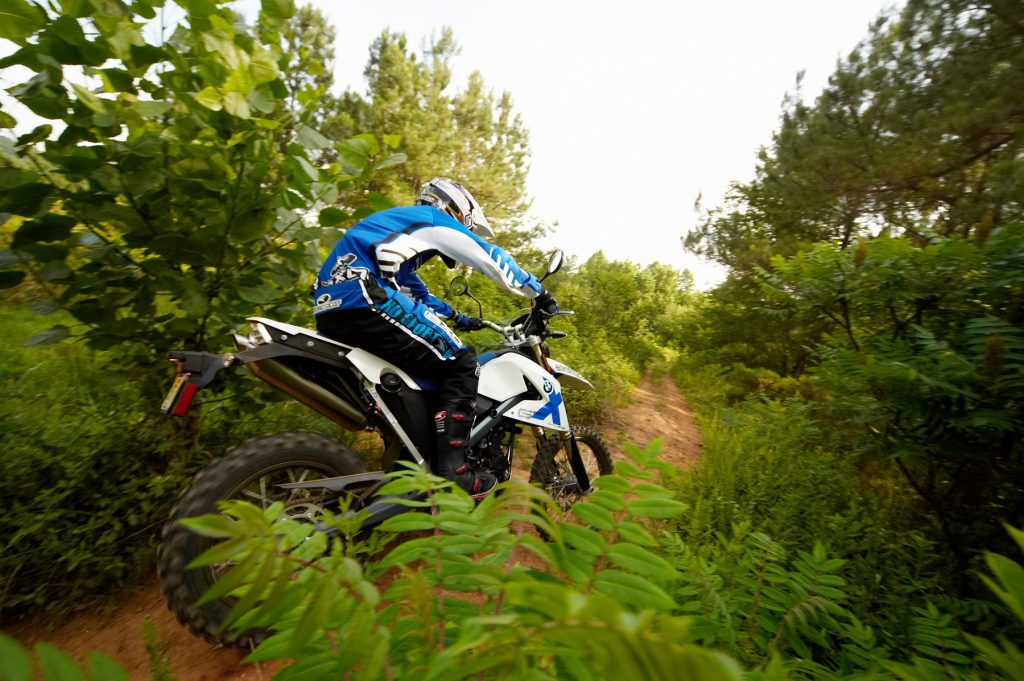


Step 1. Line yourself up as straight as possible, this will eliminate your front or back wheel washing away when you are going up the other side of the bank. Make sure you are in a gear which can pull you through the mud and enable you to get the front wheel into the air. (Because this was a short run up, I was in 2nd). Size up the bank and essentially spot the target point where you would like your front wheel to land, in most cases the further up the other bank the better. Here you can see I am gripping the bike with my knees and legs and have started accelerating to get the front wheel off the ground to carry it across the mud.
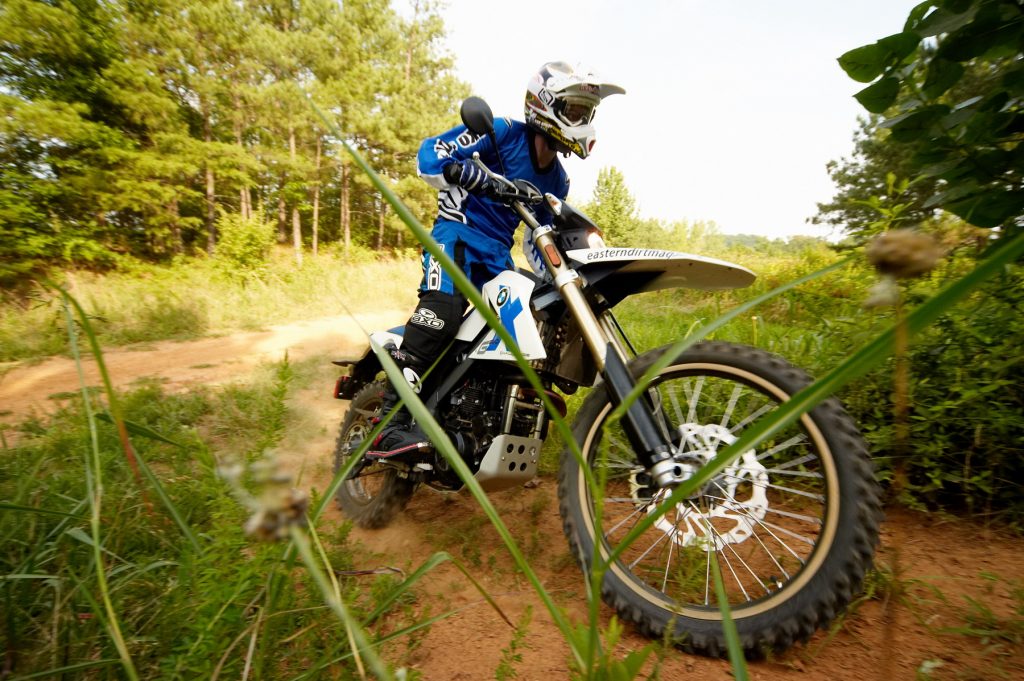
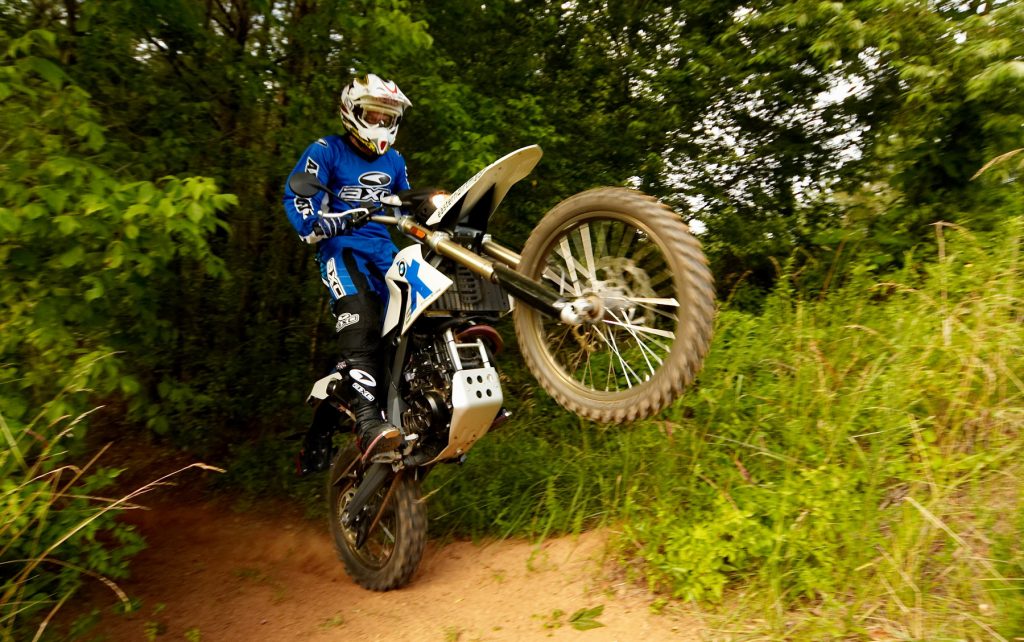
Step 2. In this shot I am fully committed and leaning slightly back to make sure that my rear wheel is going to stay on the ground and basically run through the water, this will also keep my front wheel in the air. At this point you want to have a consistent acceleration and be prepared for the bike to move underneath you slightly.


You must be logged in to post a comment.