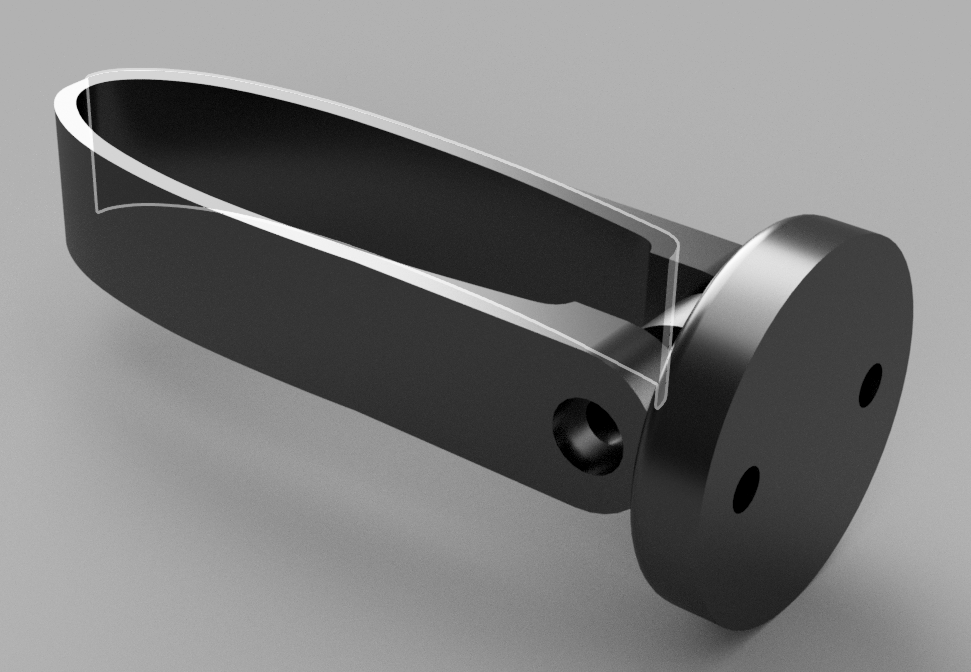
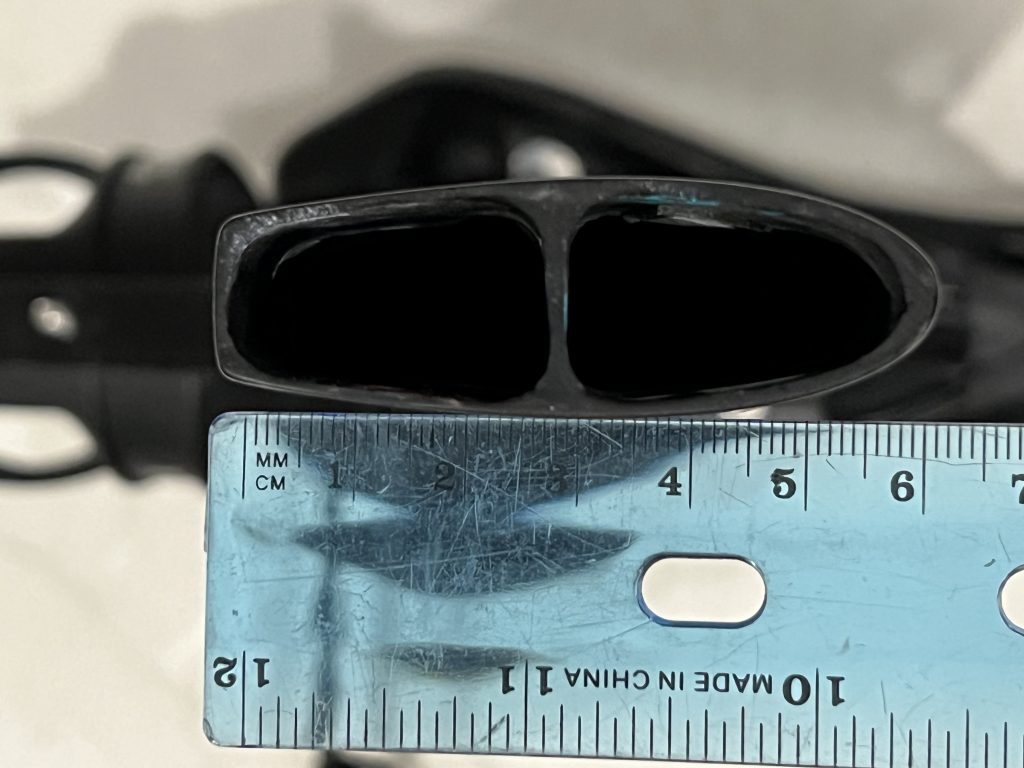
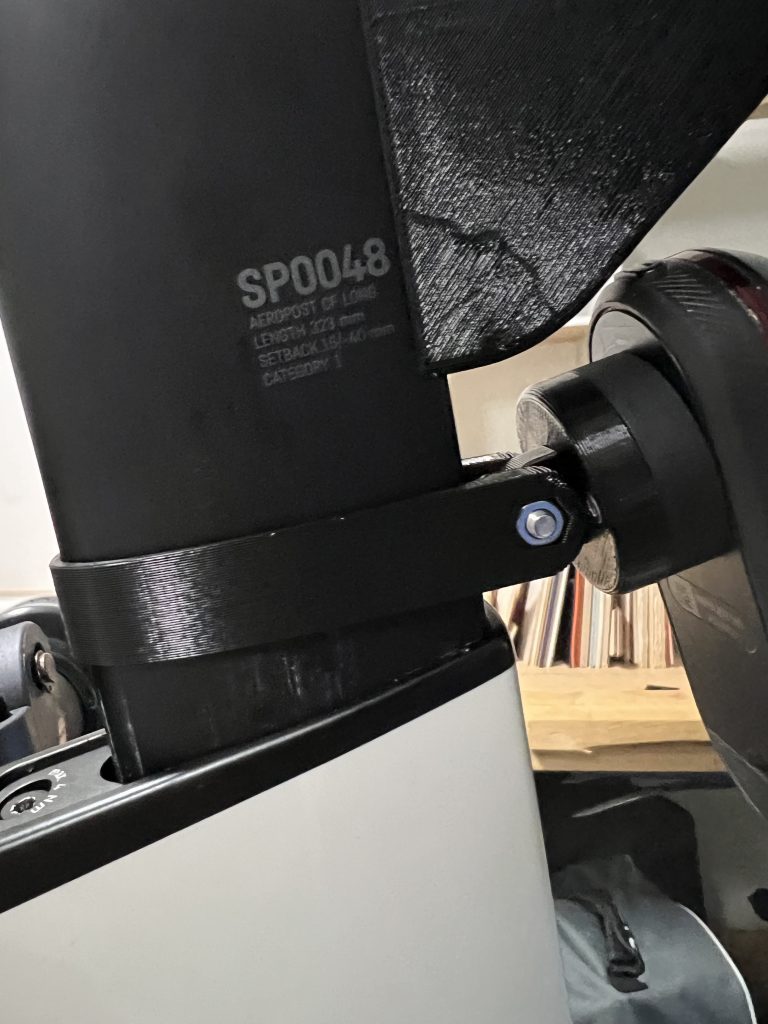
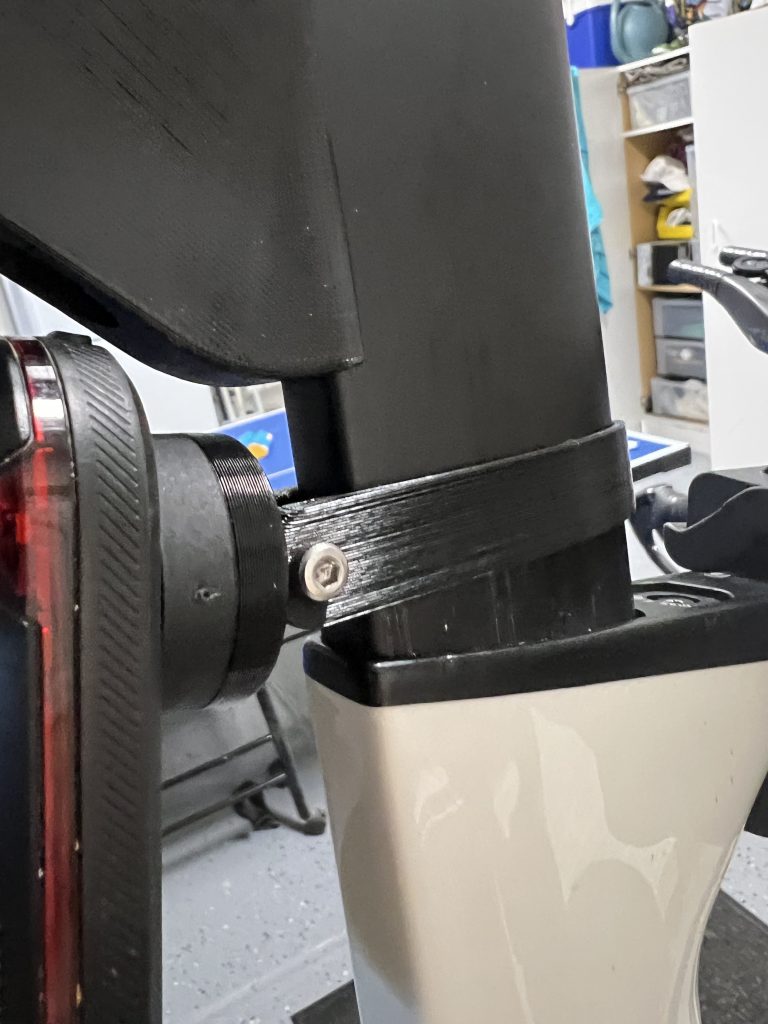
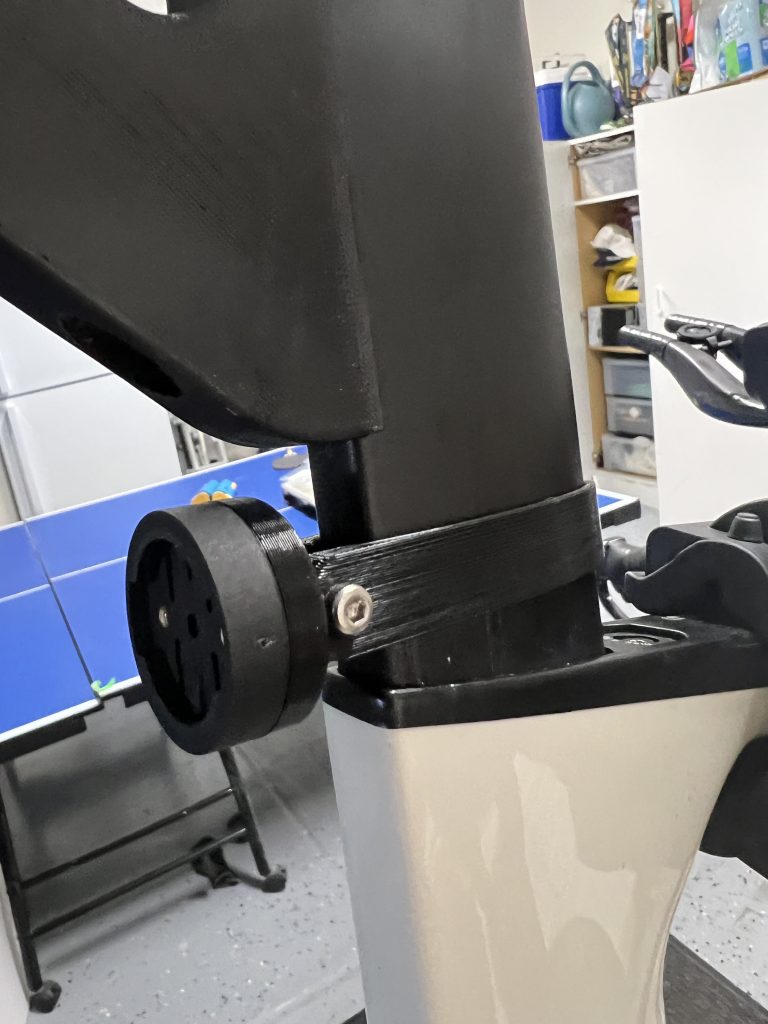
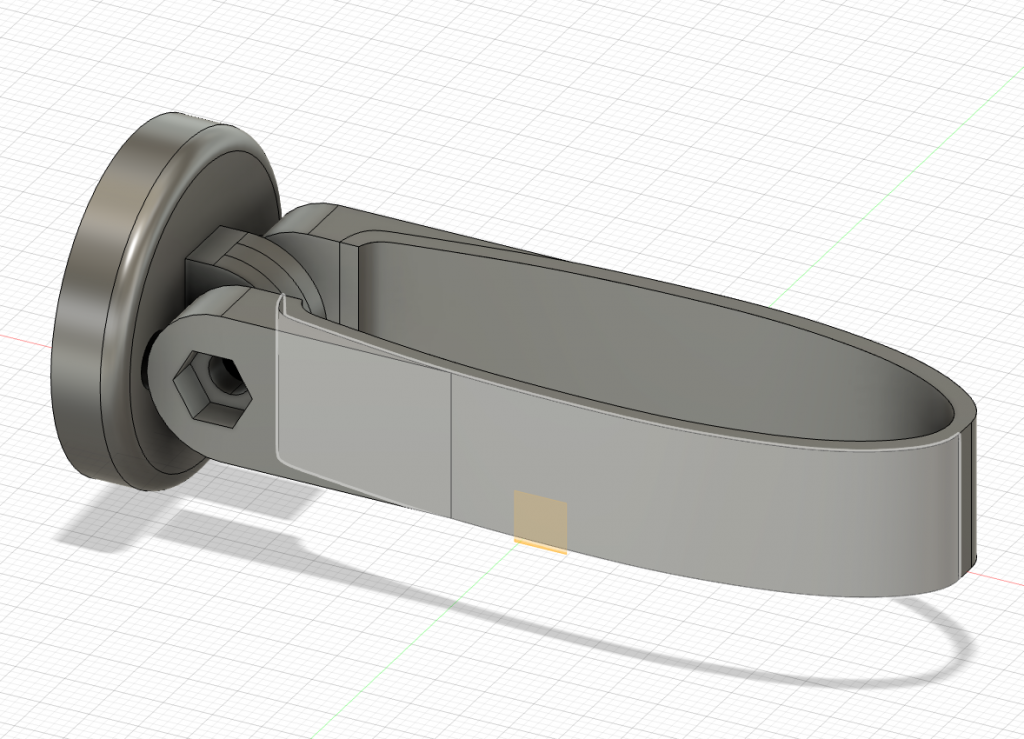
A bit of a clone from other designs on the market for a BTA bottle mount which has an adjustable angle. Made for the Canyon Speedmax. Printed, but not field tested, shortly after I switch to work on OpenAero designs.


Personal collective of ideas, thoughts and notes
A bit of a clone from other designs on the market for a BTA bottle mount which has an adjustable angle. Made for the Canyon Speedmax. Printed, but not field tested, shortly after I switch to work on OpenAero designs.
After designing, building, rebuilding, and re-printing dozens of accessories for my bikes over the last few years, I wanted to create and share a open source design system for accessories for bikes that allows myself (and a community) to innovate and collaborate on these types of products. Here is a snippet from the readme file:
Our goal is to develop a modular mounting system for bicycle accessories — ranging from water bottle holders and lights to phone and cycling computers. Partially inspired by Gridfinity, this system provides a base platform and is intended to be stackable. The motivation behind the definition and open source nature of this project is to encourage community-driven design and innovation in the triathlon space.
A fun 3D print to Carbon Fiber project.
Designed in Fusion 360, 3D printed a mould and did a wet layup in Carbon Fiber. Pretty happy with the way it came out and impressed it held up even on the really rough NZ chip sealed roads!
There was a lot of trial and error on this due to the deep cavity and needing a vacuum to hold the material in place.


Gridfinity is a great solution for 3D printing custom storage solutions. There is a “Gridfinity” layout for hundreds If not thousands of tools, home goods, workshop items, kitchen utensils, you name it … the best part is that if something doesn’t exist, you can pretty easily design and then 3D print it.
I decided to take that challenge on since there are not many Gridfinity designs for smaller cycling or workout items, like the Garmin Varia, Drop sweat monitor, Core Body Sensor or Garmin Edge unit I have. Using the design reference and a super handy Plugin for Fusion 360, I designed and printed a bunch to keep my work space organized. Below are some images and the prototypes of the prints.
This is my second pass at producing something strong enough and reliable enough to put onto my triathlon bike, and in this case some carbon fiber arm rests. My current arm rests pretty much did the job but at 300+g for the set, it seems like an easy win to reduce weight by making something similar out of CF.
The design for these took quite a lot of time, lots of trial and error and mistakes along the way 🙂 Cardboard cutouts, angles and long prints were the most tedious aspects, but ultimately I think they came out OK in the end.
Ideation and prototyping Steps


Tool/CAD Design


Mould 3D printing


These moulds had various finishes I was testing, everything from raw prints to epoxy coated.
After having some reasonable success in #D printing moulds and doing some layup in CF, I thought I would attempt a “forged” CF version of a part I have 3D printed in the past. Unfortunately it didn’t quite go according to plan, it ended up weighing close to 4 x more than the basic version. A fun experiment none-the-less!


After years of dreaming and ideating around making carbon fiber products of some sort, I finally had a need to build some custom parts for my triathlon bike. After spending a considerable amount of time reading, watching and listening to tutorials online, I took the plunge and purchased some starter materials. My initial plan was to work with 3D printed moulds and do wet layup.
I purchased a 3D printed started kit from Easy Composites. The shipping was a little expensive (they are based in the UK) but seemed to have the best products, prices and matching material requirements for my needs.
My first project was a simple chain ring cover (which would be the next version of the 3D printed aero cover I 3D printed here). The purpose of this cover is to streamline airflow over the crank while in motion to reduce the bikes Cda (Coefficient of Drag). aka. More slip streamed.
Fun DIY/3D Printing project to replicate the Canyon Grail FD hanger as the part was out of stock with no date in sight 🙁


Another fun 3D print project for my new Canyon Grail. Having a 3rd bottle mount for longer rides is pretty helpful. Design in Fusion 360.


Another fun/practical application of 3D printing, where it probably would be easier and cheaper just to buy it, but … not as much fun.
You must be logged in to post a comment.