S2F is a blog series around building custom native iOS apps using SAP Netweaver Gateway, you can read Part 1and Part 2, as well as the introduction from talk at TechEd in Las Vegas.
Last Week Guy Stoffer, put together a great blog outlining how quick and easy it was to create an iOS app using the SAP Netweaver Gateway Tool for XCode. The tool creates proxy classes and even handles the security which makes creating a starter gateway app simple. In my previous post covering my talk at TechEd in LV, I mentioned I would show an alternative to using the Gateway Tool for XCode and this blog outlines this.
In my case I will be connecting to the Online SAP Netweaver Gateway Demo system and pulling out a list of Sales Orders. The list of Sales Orders will be presented in a table in the master view, leaving you to decide how/what data you may want to pull in under the detail view. This should be a good start to guide you in the right direction, so …. lets get started ….
Firstly, we will be using 1 open source package … AFNetworking: Essentially this makes connecting to any HTTP source simpler and parsing our JSON data easy. https://github.com/AFNetworking/AFNetworking
| Steps |
|---|
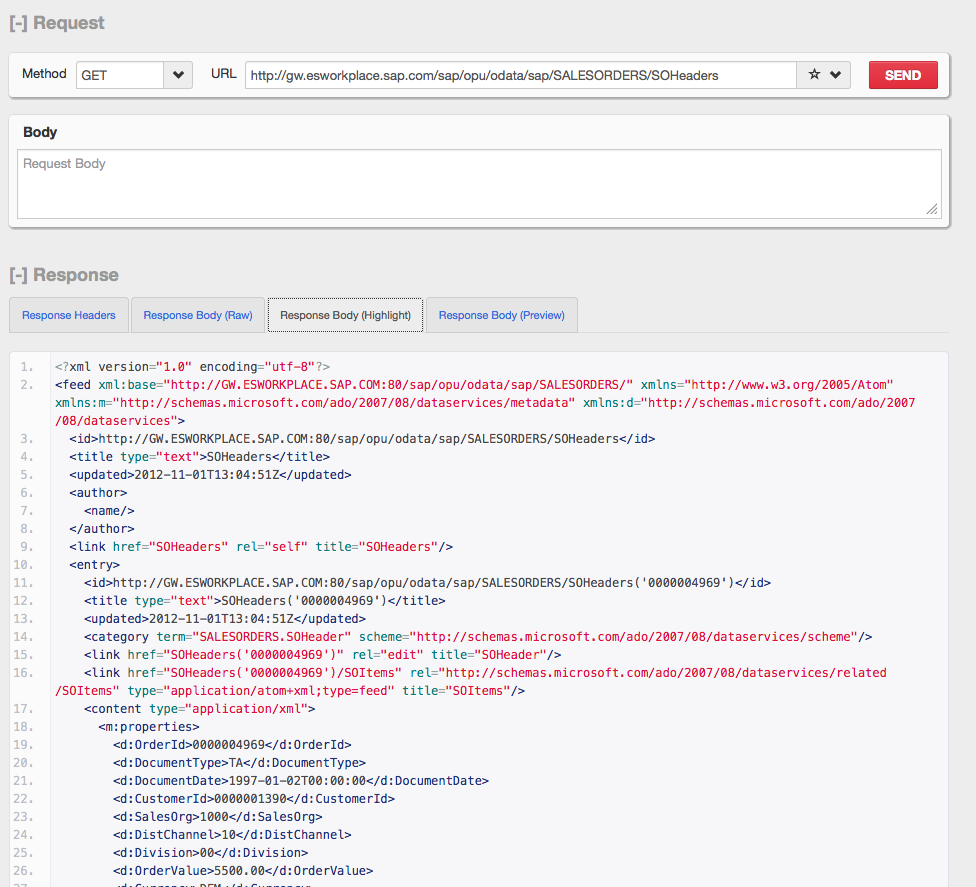 |
| I always like to check that my data source is functioning as expected prior to starting the actual coding, this can be done in a useful tool like RestClient for Firefox. http://gw.esworkplace.sap.com/sap/opu/odata/sap/SALESORDERS/SOHeaders?$format=jsonhttp://gw.esworkplace.sap.com/sap/opu/odata/sap/SALESORDERS/SOHeaders?$format=json – This should output a list of the Sales order header object details, which includes the sales order number.Above you can see the URL is returning the list of Sales Orders we were expecting …. excellent |
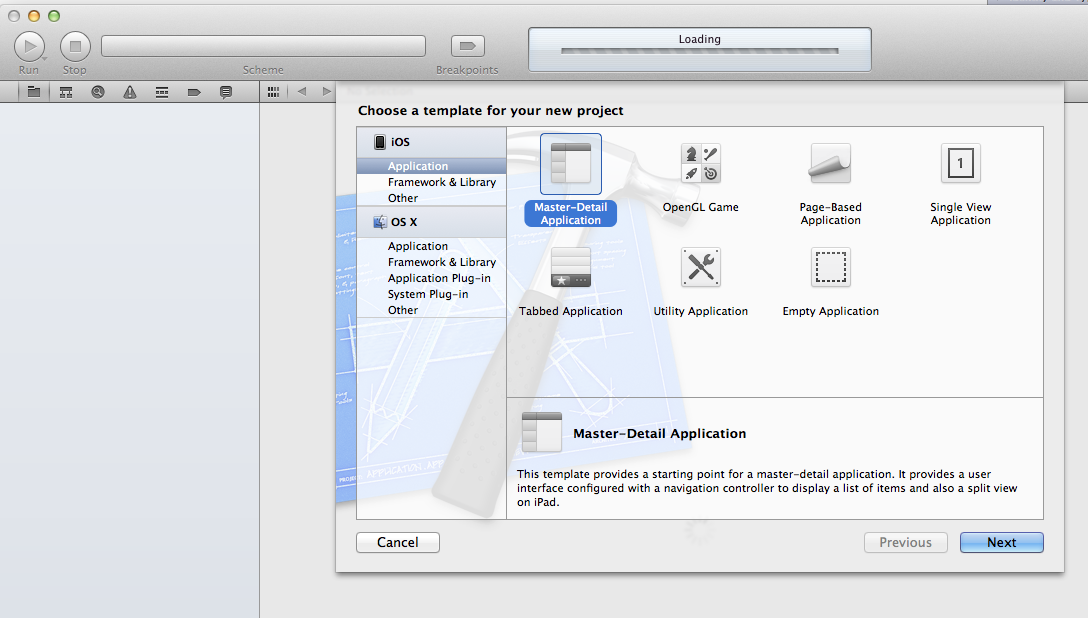 |
| Once downloaded, create a new iPad Project in XCode using the “Master/Detail” template. |
 |
| Give the Project a new name and save it to a familiar location. |
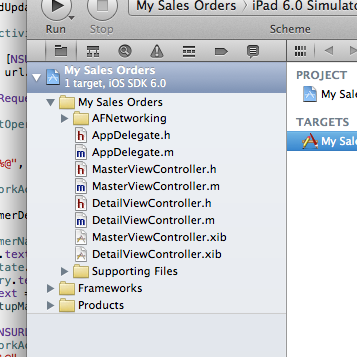 |
| Drag and Drop the AFNetworking folder you downloaded & unzipped into the project. |
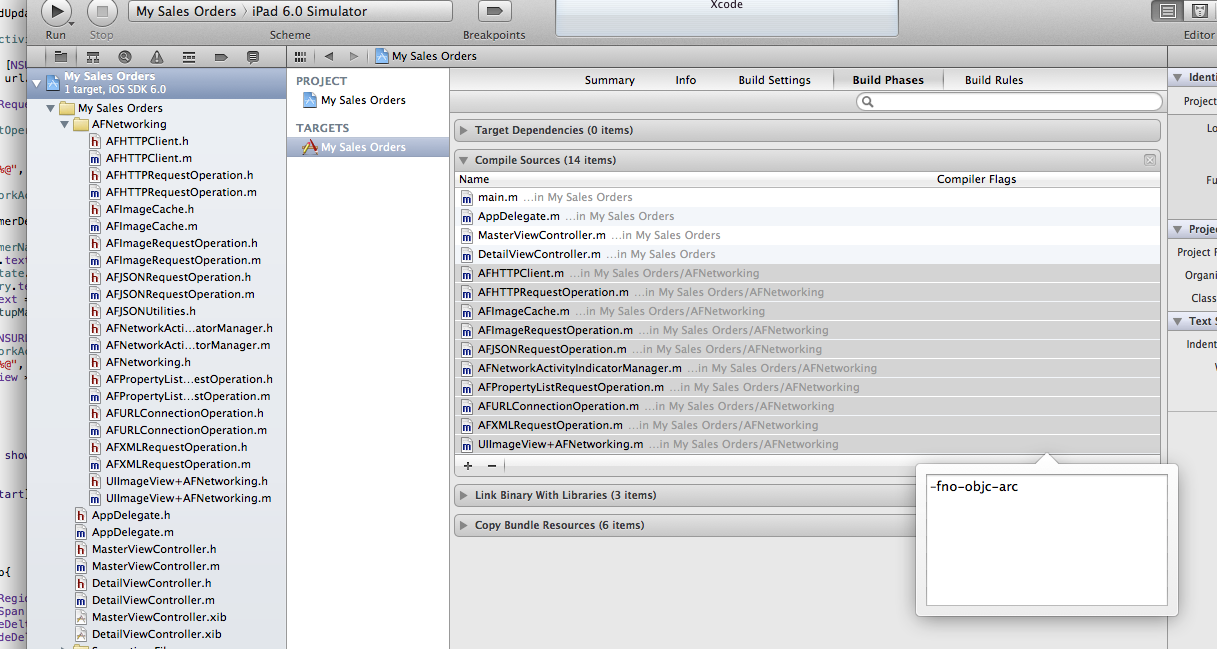 |
| Ensure that the compiler flags for each of the .m AFNetworking files have -fno-objc-arc (this will ensure they are not ARC compiled). This is done by selecting your project, then the”Project Phases” tab, and then “Compile Sources” |
| Once this is done, our project is setup and ready to start consuming SAP Data!(Tip: Make a copy of the project files at this point, then its quick and easy to start a new project without having to redo these steps!) |
 |
| Next, open the MasterViewController.m file and add a import at the top of the page for the AFNetworking class.#import “AFNetworking.h” |
| Next we will create a new Method called “getGWData”, this will be a our worker method which will actually go out, fetch our data set and display it in our master table view. |
| – (void) getGWData{ NSURL *url = [NSURL URLWithString:@”http://username:password@gw.esworkplace.sap.com/sap/opu/odata/sap/SALESORDERS/SOHeaders?$format=json; NSMutableURLRequest *request = [NSMutableURLRequest requestWithURL:url]; AFJSONRequestOperation *operation = [AFJSONRequestOperation JSONRequestOperationWithRequest:request success:^(NSURLRequest *request, NSHTTPURLResponse *response, id JSON) { id results = [[JSON valueForKeyPath:@”d”] valueForKeyPath:@”results”]; if (!_objects) { _objects = [[NSMutableArray alloc] init]; } for (int i = 0; i < [[results valueForKeyPath:@”OrderId”] count]; i++){ [_objects insertObject:[[results valueForKeyPath:@”OrderId”] objectAtIndex:i] atIndex:0]; NSIndexPath *indexPath = [NSIndexPath indexPathForRow:0 inSection:0]; [self.tableView insertRowsAtIndexPaths:@[indexPath] withRowAnimation:UITableViewRowAnimationAutomatic]; } } failure:^(NSURLRequest *request, NSHTTPURLResponse *response, NSError *error, id JSON) { NSLog(@”%@”, error); }]; [operation start];} |
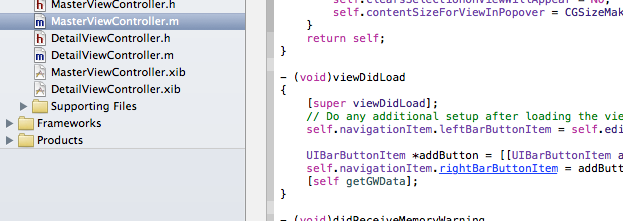 |
| Next add a call to this new method from the – (void) viewDidLoad |
 |
| Thats it, run the project and the data should populate into the tableview after a couple of seconds. |
What you can see is that with only a few lines of code, it is simple to create your own app which connects and consumes SAP Netweaver Gateway Data. In the second part of the blog we will take the app a step further by reading the details of the sales order into the detail pane as well as modify our list be to be slightly more contextual and relevant.